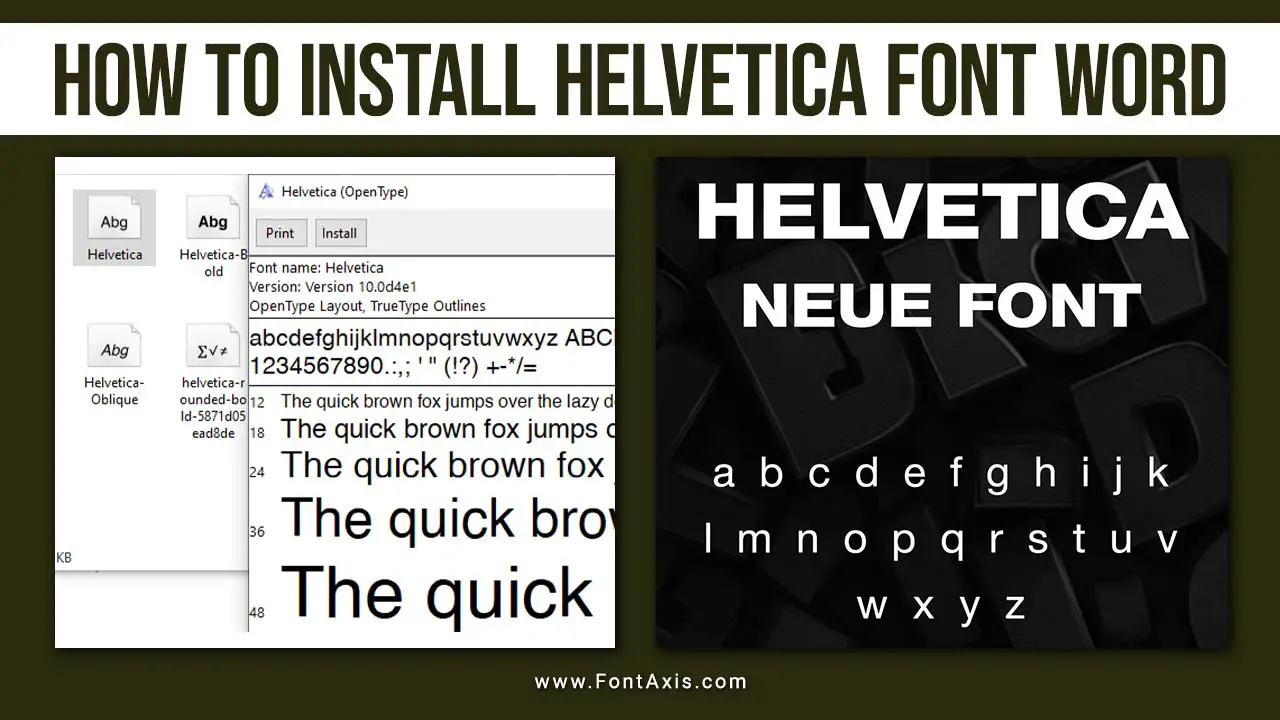
Installing the Helvetica font, particularly the Helvetica Neue variant, enhances your document’s appearance and is a popular choice for many professional and creative applications.
This guide will take you through the steps to install the Helvetica font family on your computer, making it available for use in Microsoft Word and other applications.

What Is The Helvetica Font?
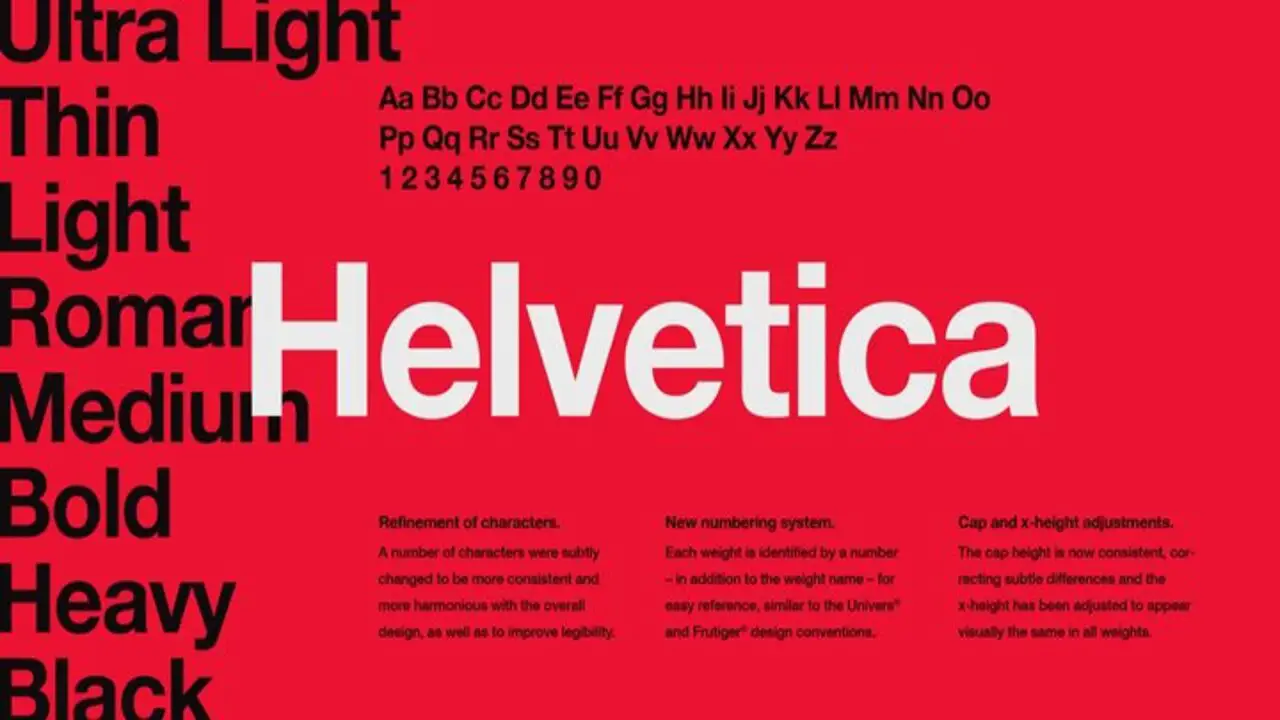
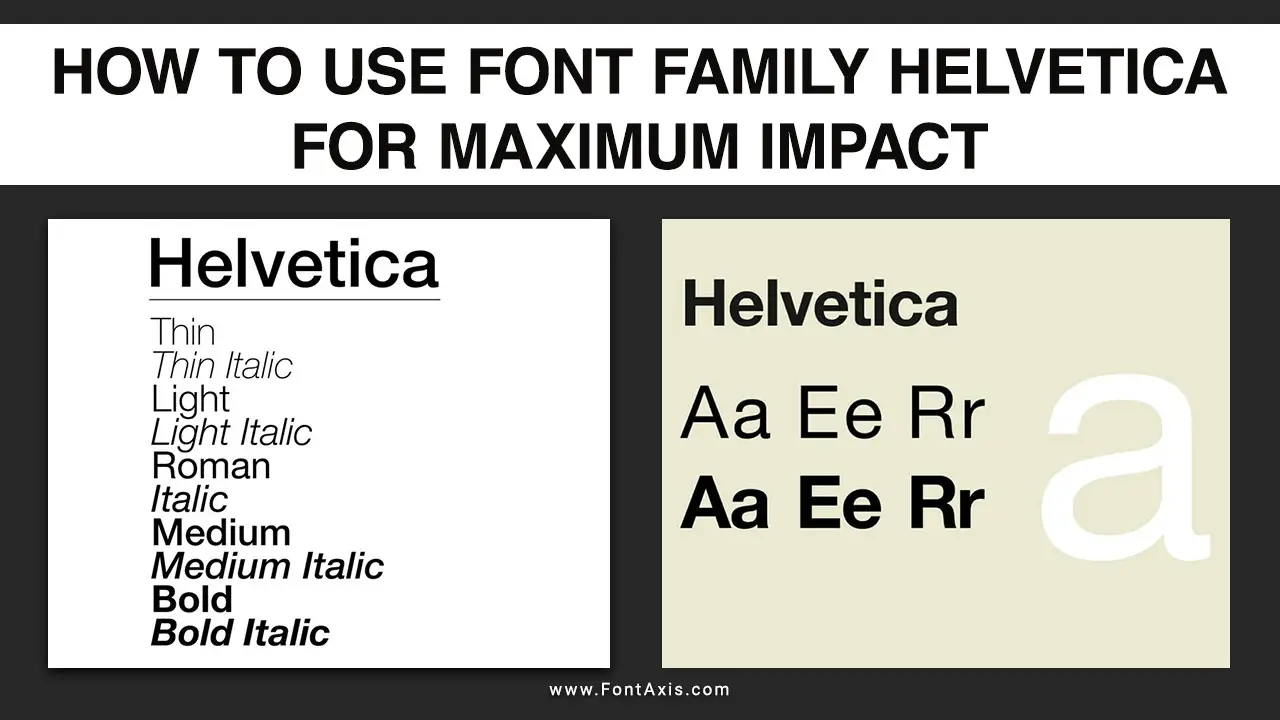
Designers widely recognize the Helvetica typeface for its clean and modern aesthetic. It belongs to the Helvetica font family, which includes various styles such as Helvetica Light, Helvetica Narrow, and Helvetica Rounded. This versatile typeface is often used in branding, advertising, and design. For those looking for alternatives, fonts like Arial or Open Sans offer a similar look, albeit with their unique features.
Where To Find Helvetica Fonts

Commercial And Free Options
While the Helvetica font is a commercial font, meaning it typically requires a purchase, there are free alternatives available. For instance, Google Fonts provides several similar fonts, such as Open Sans, which can be used as a free font option for web and print design.
- Purchase from Font Foundries:
- Websites like Adobe Fonts, MyFonts, and FontShop offer the Helvetica Neue font and other variations. Simply search for the desired font, add it to your cart, and complete the purchase process.
- Free Alternatives:
- If you’re looking for a free font, consider Liberation Sans or Nimbus Sans as substitutes for the Helvetica typeface.
Downloading The Helvetica Font
Once you’ve decided on the font you want, you’ll need to download the corresponding font file. Most fonts will come in either TrueType font (TTF) or Type 1 font format. After purchasing or downloading the font, follow these steps:
- Locate the Downloaded File:
- Find the downloaded font file in your computer’s Downloads folder or the designated folder where you saved it.
- Extract the Font File:
- If the font is in a zipped folder, right-click on it and select Extract All to access the font files.
Installing The Helvetica Font

For Windows
- Open the Fonts Folder:
- Press
Windows Key + Rto open the Run dialogue. Typefontsand press Enter to open the fonts folder.
- Press
- Install the Font:
- Drag and drop the downloaded Helvetica font files into the fonts folder. Alternatively, you can right-click the font file and select Install.
For Mac
- Open Font Book:
- Navigate to Applications > Font Book.
- Install the Font:
- Drag and drop the downloaded Helvetica font file into Font Book, or double-click the font file and select Install Font.
Verifying The Font Installation
After installation, you need to verify that the Helvetica font is available for use in Microsoft Word:
- Open Microsoft Word.
- Navigate to the Home tab.
- Click on the font dropdown menu and search for Helvetica. You should see various styles, including Helvetica Light and Helvetica Narrow.
Troubleshooting Font Issues
1. Font Not Appearing in the Application
Problem: After installing a new font, it does not show up in applications like Microsoft Word or Adobe Creative Suite.
Solution:
- Restart the Application: Close and reopen the application to refresh the font list.
- Check Font Installation: Ensure the font is correctly installed in the system’s Fonts folder. On Windows, you can do this by pressing, typing
fonts, and hitting Enter. For Mac, open Font Book and check for the font. - Clear Font Cache:
- Windows: Use a tool like FontBase or Font Doctor to clear the font cache.
- Mac: Restart your computer to clear the font cache automatically.
2. Font Rendering Issues
Problem: The font appears distorted or incorrectly rendered (e.g., missing characters or strange artifacts).
Solution:
- Update Graphics Drivers: Ensure your graphics drivers are up-to-date, as rendering issues can sometimes be caused by outdated drivers.
- Use a Different Font Style: If a specific style (like bold or italic) is causing issues, try using a different style or the regular version of the font.
- Check for Conflicts: Installing multiple versions of the same font may cause rendering problems. Remove duplicates in the Fonts folder or Font Book.
3. Missing Characters In Font
Problem: Some characters or glyphs do not appear when typing.
Solution:
- Use a Complete Version of the Font: Make sure you are using a complete version of the font, as some font packages may not include all glyphs.
- Check Language Settings: Ensure your language settings in the application match the language of the font.
- Fallback Font: Sometimes, applications use fallback fonts for unsupported characters. Check if the fallback font is being used and try switching to a complete font family.
4. Fonts Displayed Incorrectly
Problem: Fonts appear in different sizes, weights, or styles than expected.
Solution:
- Reset Application Preferences: Resetting application preferences can fix display issues. Look for this option in the application’s settings or preferences menu.
- Check for Updates: Ensure your software is updated. Sometimes, font display issues can be resolved with updates that fix bugs.
- Check Document Compatibility: If you’re opening a document created in a different version of the software, ensure compatibility settings are correct.
5. Font Not Embedding In PDF
Problem: When exporting a document to PDF, the fonts do not embed properly.
Solution:
- Check PDF Settings: In the export settings, look for an option to embed fonts. Make sure this option is selected.
- Use a Different PDF Export Method: Some applications have multiple ways to export to PDF. If one method doesn’t embed the font, try another.
- Install the Font on the Target System: If sending the PDF to another user, ensure they have the same fonts installed on their system.
6. Fonts Missing After System Update
Problem: Fonts disappear or fail to work correctly after a system update.
Solution:
- Reinstall Fonts: You may need to reinstall the affected fonts after a system update. Check the Fonts folder or Font Book to ensure the fonts are still listed.
- Reset Font Cache: As previously mentioned, resetting the font cache can resolve issues following updates.
- Check for System Compatibility: Ensure that the fonts are compatible with the new system update.
Conclusion
Installing the Helvetica font enhances your document’s professionalism and visual appeal. With the steps outlined above, you can easily add this iconic typeface to your Microsoft Word application. Whether you choose the classic Helvetica Neue or its variants like Helvetica Rounded, you can significantly elevate your document design.
FAQs
1.Is Helvetica A Free Font?
No, Helvetica is a licensed font and typically requires a purchase. However, there are free alternatives like Arial or Liberation Sans.
2.Can I Use Helvetica For Commercial Purposes?
Yes, but you need to purchase a commercial license for the Helvetica font if you intend to use it in commercial projects.
3.Are Helvetica And Arial The Same?
No, while they may appear similar, Arial is a different font with its own unique features. Helvetica is generally considered more refined and modern.
4.Will Helvetica Appear In All Office Apps After Installation?
Yes, once installed, the Helvetica font family will be available across all Office applications, including Word and Excel.
5.What Should I Do If Helvetica Does Not Appear In Word?
Check the fonts folder for proper installation, clear your font cache, and restart Microsoft Word or your computer.


