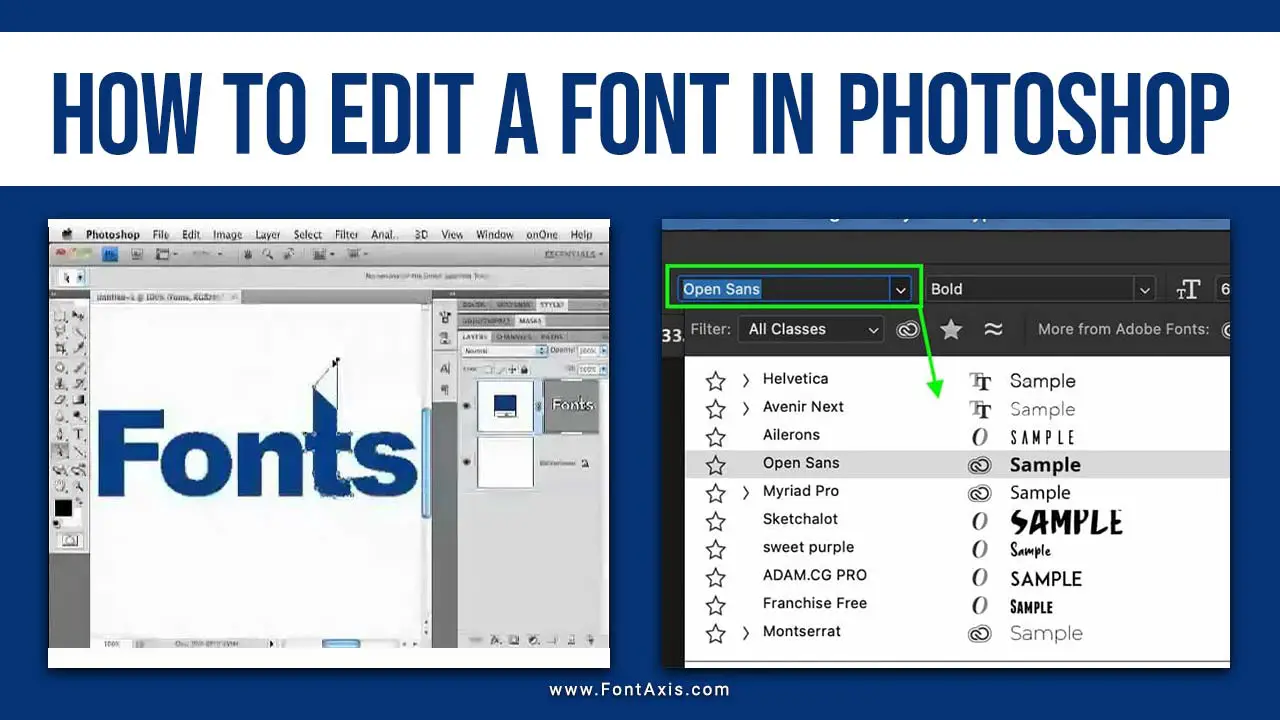
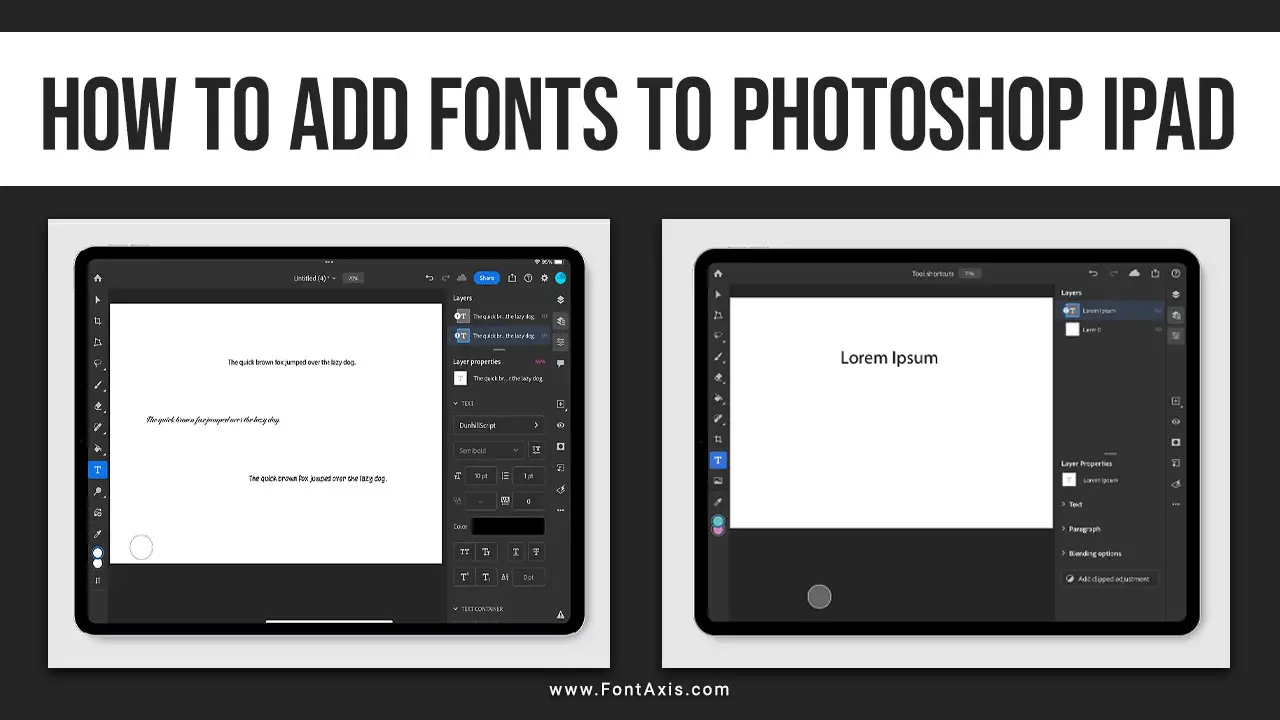
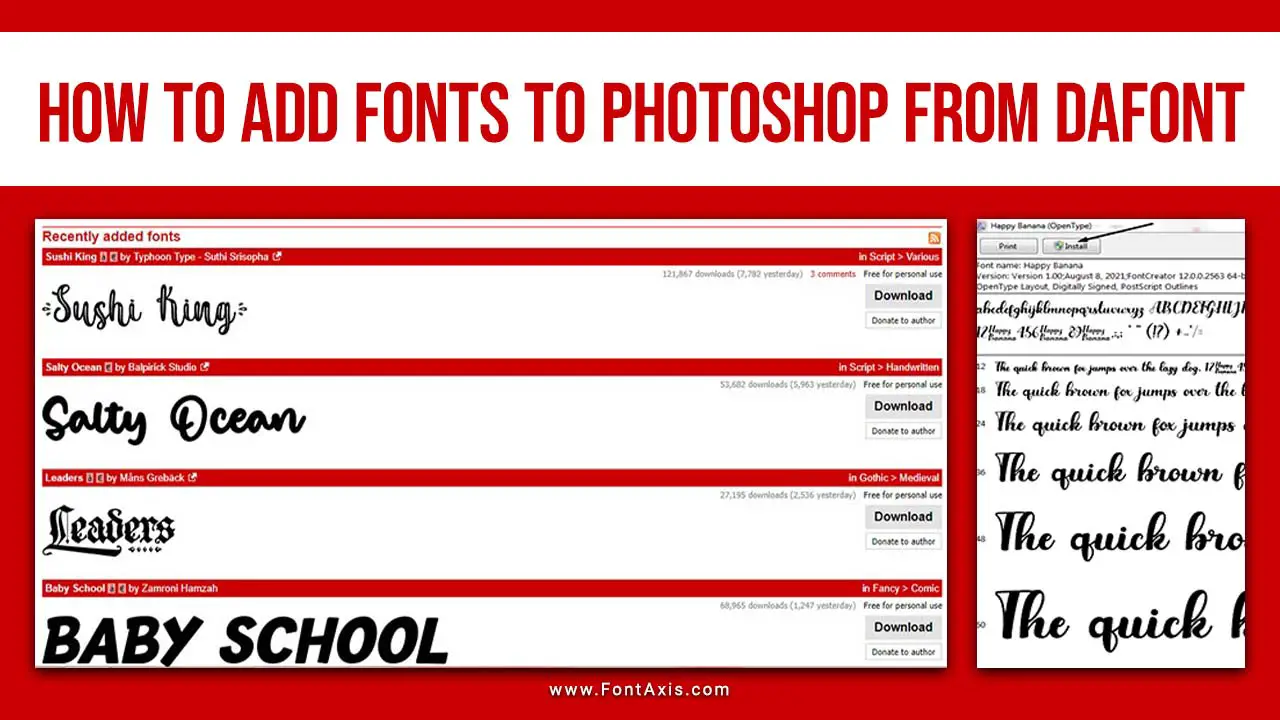
Adding new fonts to Adobe Photoshop on Mac is essential for customizing designs, expanding your creativity, and accessing a wide range of styles. This step-by-step guide will walk you through downloading, installing, and using custom fonts in Photoshop on Mac OS X.
Step 1: Download The Font Files
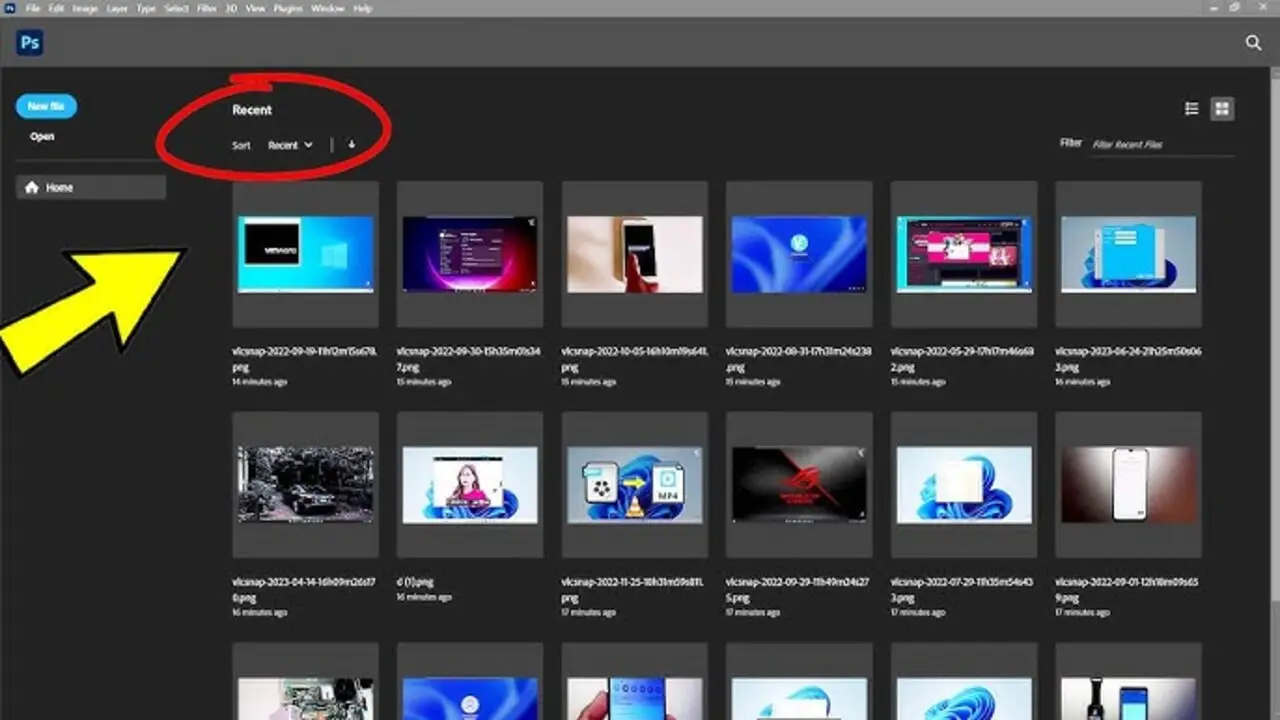
The first step to adding fonts to Photoshop is to find and download the font files you want. You can choose from various free and downloadable fonts from popular sources like Google, Adobe, or third-party websites. Make sure the font file is compatible with Mac and Photoshop (usually in TrueType (TTF), OpenType (OTF), or OTF font formats).
- Download Fonts from Adobe Fonts: If you are an Adobe Creative Cloud subscriber, you can access Adobe Fonts directly through the Adobe Fonts library. Search for your desired font, select it, and click Activate Font to make it available for Adobe apps.
- Download Fonts from Other Sources: If you are downloading fonts from other sites, such as Google Fonts or font directories, save the font files to an easily accessible location, like your Downloads folder.
Step 2: Installing The Font On Mac
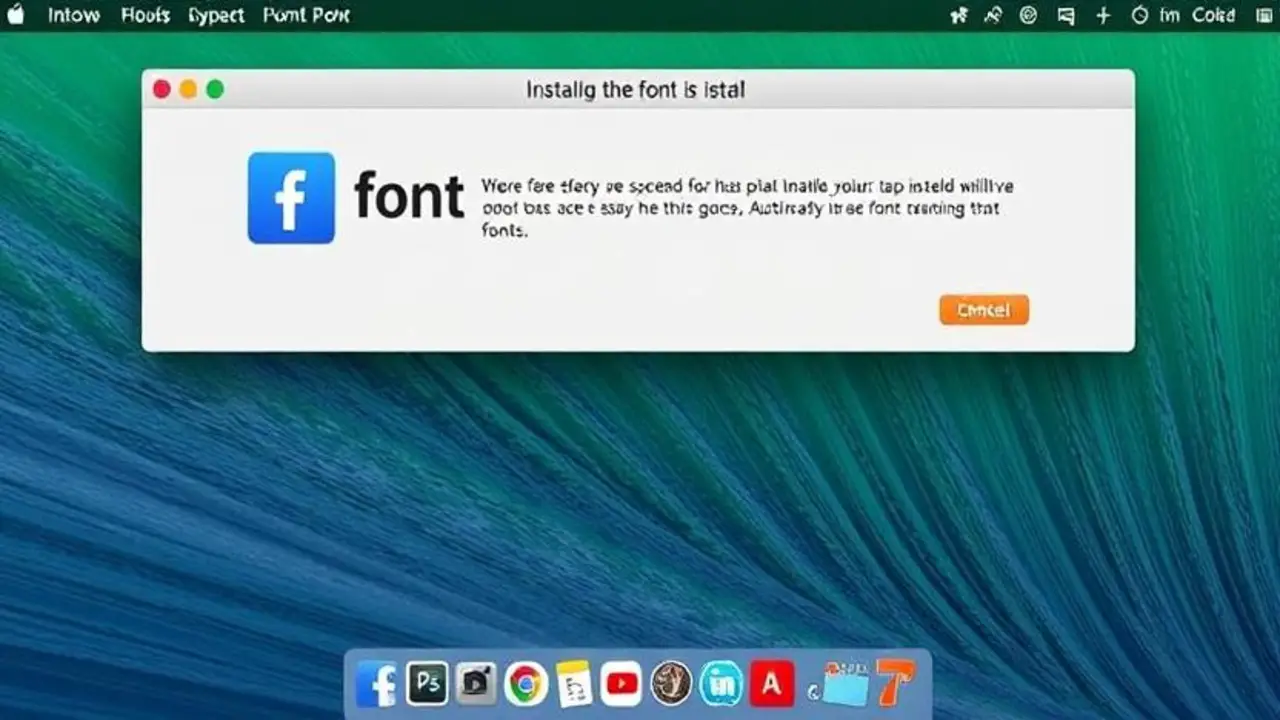
Once the fonts are downloaded, install them on your Mac. To do this quickly, use Font Book, Mac’s native font management app.
- Open Font Book: Go to Applications > Font Book on your Mac.
- Add Fonts: In Font Book, click File > Add Fonts or drag the downloaded font file (OTF or TTF) into the Font Book window.
- Validate Font: Font Book will automatically check for issues or duplicate fonts. If there are no issues, your newly installed font will be added to the list.
- Activate the Font: Once added, the installed font will be available for all applications on your Mac, including Adobe Photoshop, Adobe Illustrator, and other graphic design programs.
Step 3: Open Adobe Photoshop And Access The Font
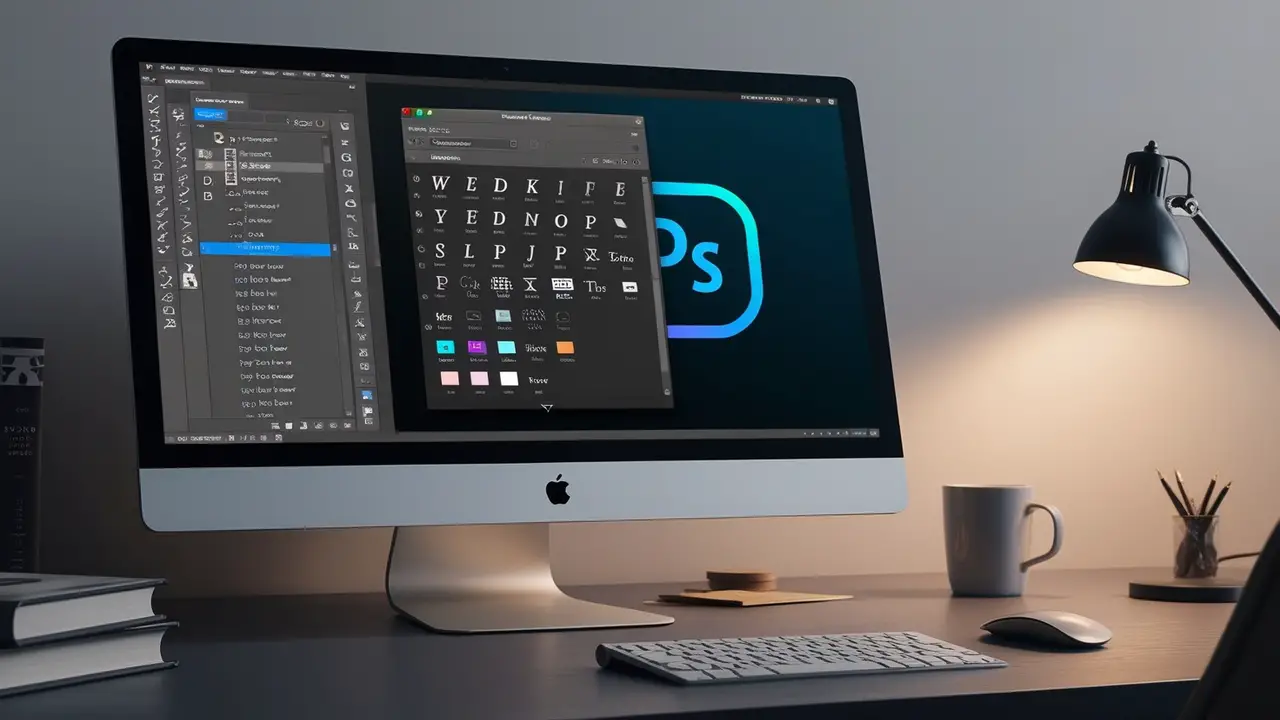
With your font installed on the system, it’s ready for use in Photoshop. Follow these steps to access it in your design projects.
- Open Photoshop: Launch Adobe Photoshop on your Mac.
- Create a New Document: Start a new project or open an existing one where you’d like to add text.
- Select the Text Tool: Choose the Text Tool (indicated by the “T” icon) from the Photoshop toolbar.
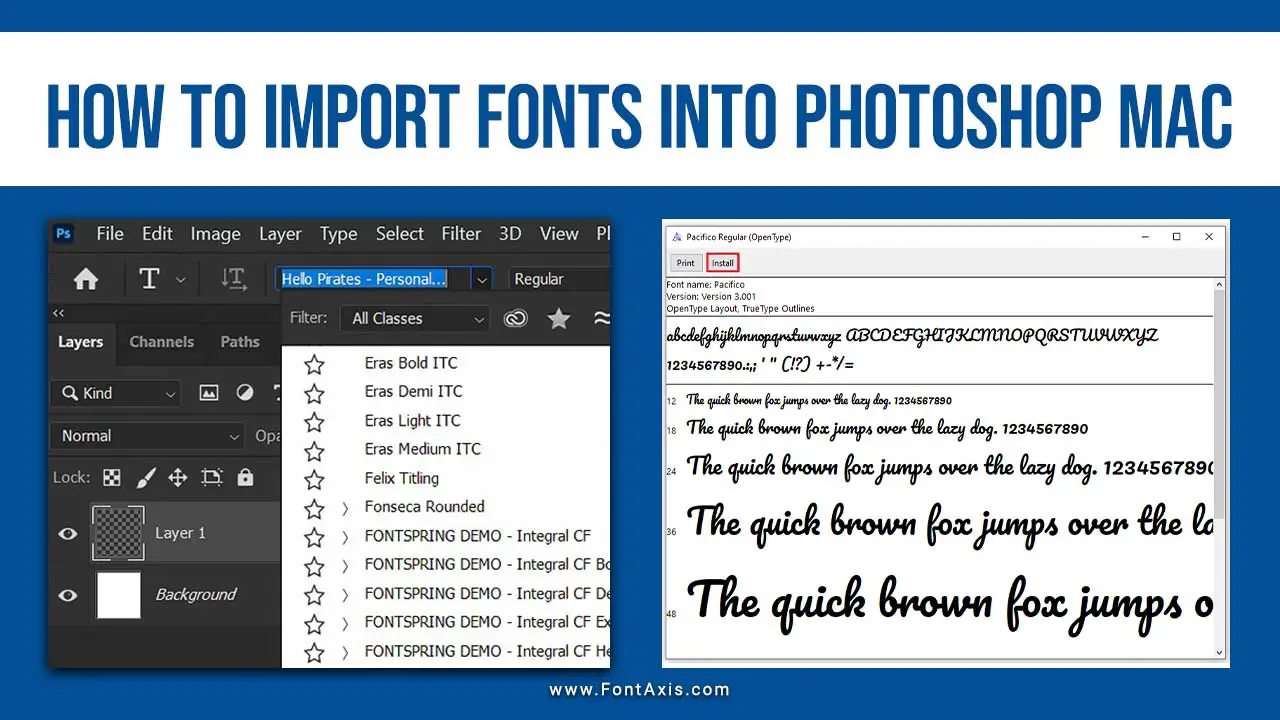
- Open Font Menu: In the font menu on the top options bar, click the drop-down to see the list of available fonts.
- Choose Your Desired Font: Scroll through the font list to locate the font you added. You can preview and select it as the selected font.
- Apply Text and Customize: Click on the image area to start typing. Customize the font size, color, and other text options to fit your design.
Step 4: Using Adobe Fonts With Creative Cloud
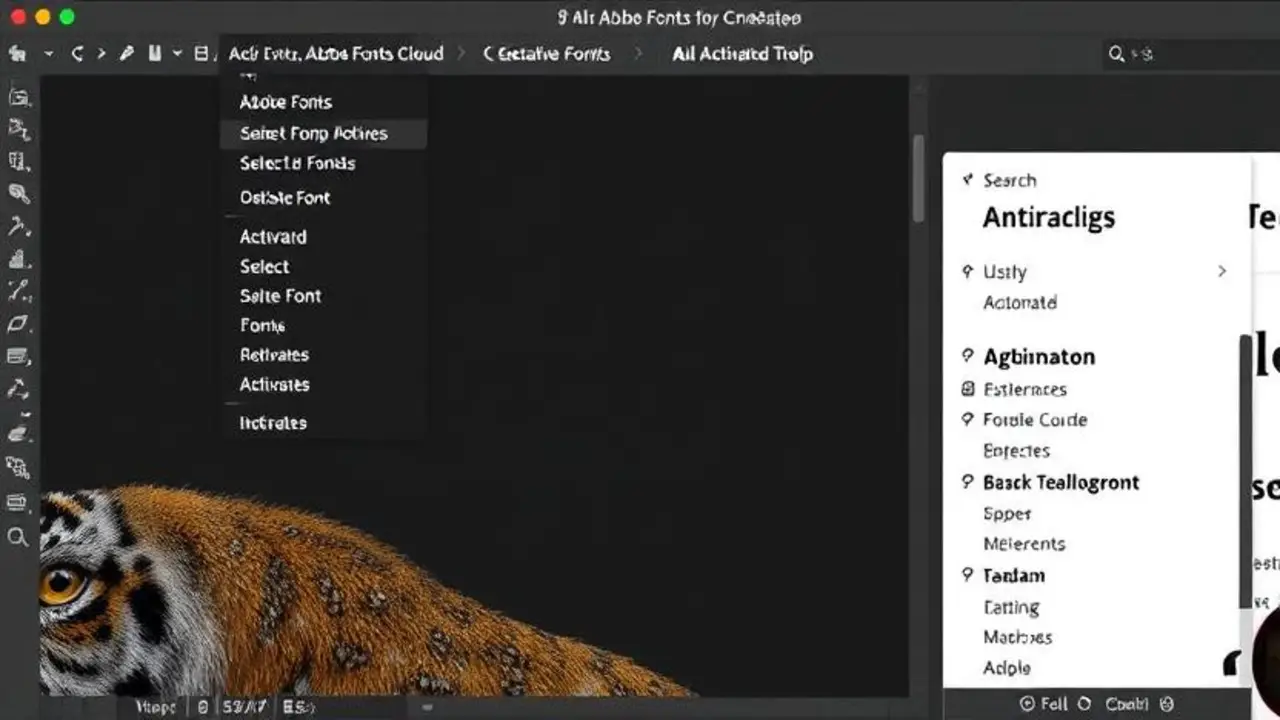
If you’re an Adobe subscriber, you can activate and use Adobe Fonts directly in Photoshop. Adobe Fonts will sync across devices, making them available in Adobe Photoshop CC and other Adobe apps.
- Open Adobe Fonts in Creative Cloud: In the Adobe Creative Cloud app, navigate to Fonts.
- Search and Activate: Search for the desired font, select it, and click Activate Font. The activated font will automatically appear in the Photoshop fonts list.
- Open Photoshop: The activated font is now available in Photoshop. Use the same steps to access it in the font menu and apply it to your text.
Step 5: Handling Missing Fonts And Duplicate Fonts
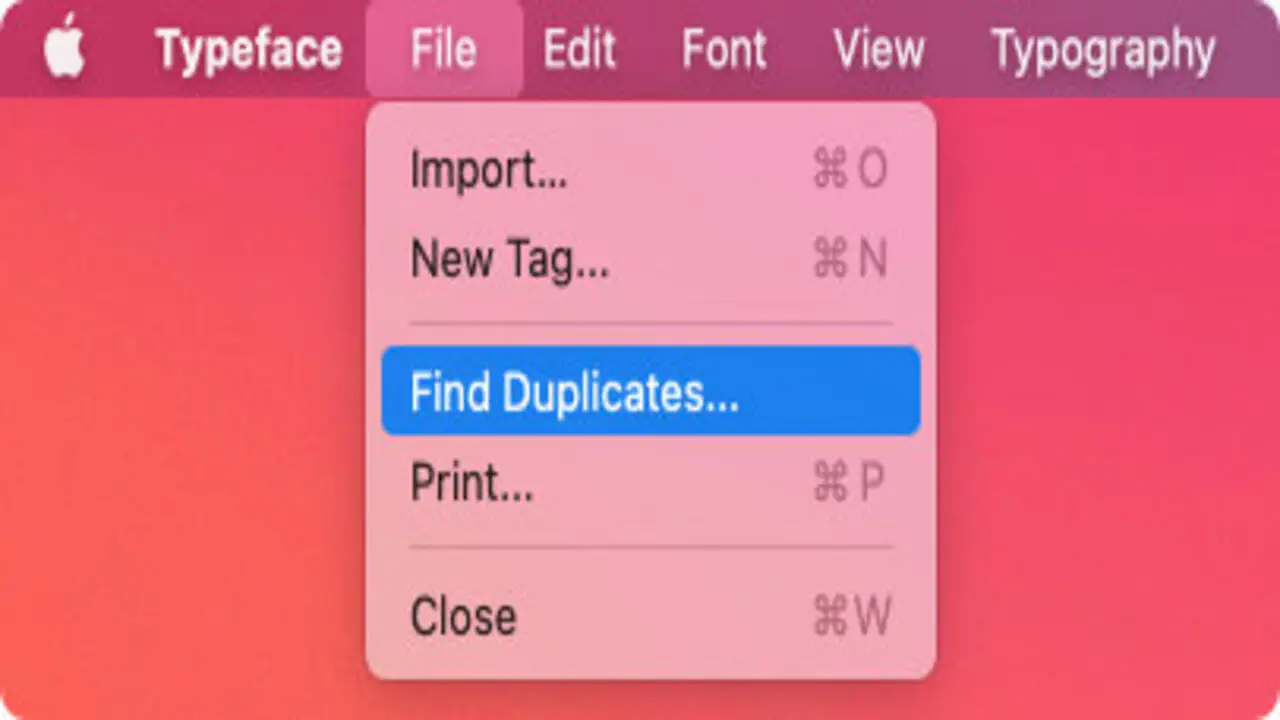
Sometimes, you may encounter missing fonts or duplicate fonts in Photoshop, especially if you work with documents created on other systems.
- Missing Fonts: If a font in a document is missing, Photoshop will notify you and may offer similar replacements. To fix this, install the missing font on your system.
- Duplicate Fonts: If a font shows up multiple times in the list, go to Font Book app and check for duplicates, removing any extras.
Conclusion
Importing fonts into Adobe Photoshop on a Mac is a straightforward process, especially when using Font Book and Adobe Fonts through Creative Cloud. By managing your font library effectively, you can customize designs, explore different fonts, and make the most of Photoshop’s text tools.
FAQs
1.Can I Import Web Fonts Into Photoshop On Mac?
Yes, you can download web fonts from sources like Google Fonts, install them using Font Book, and then use them in Photoshop.
2.How Do I Install Multiple Fonts At Once?
You can drag multiple font files into Font Book at once to install them simultaneously.
3.Why Is My Font Not Showing Up In Photoshop?
If the new font isn’t appearing, try restarting Photoshop or double-checking the font installation in Font Book.
4.Can I Use Adobe Fonts Offline?
Yes, once activated, Adobe Fonts are available offline as long as the font was previously downloaded to your device.
5.What’s The Difference Between OTF And TTF Fonts In Photoshop?
Both OpenType (OTF) and TrueType (TTF) fonts work in Photoshop, but OTF files often have additional features like ligatures and stylistic sets.

