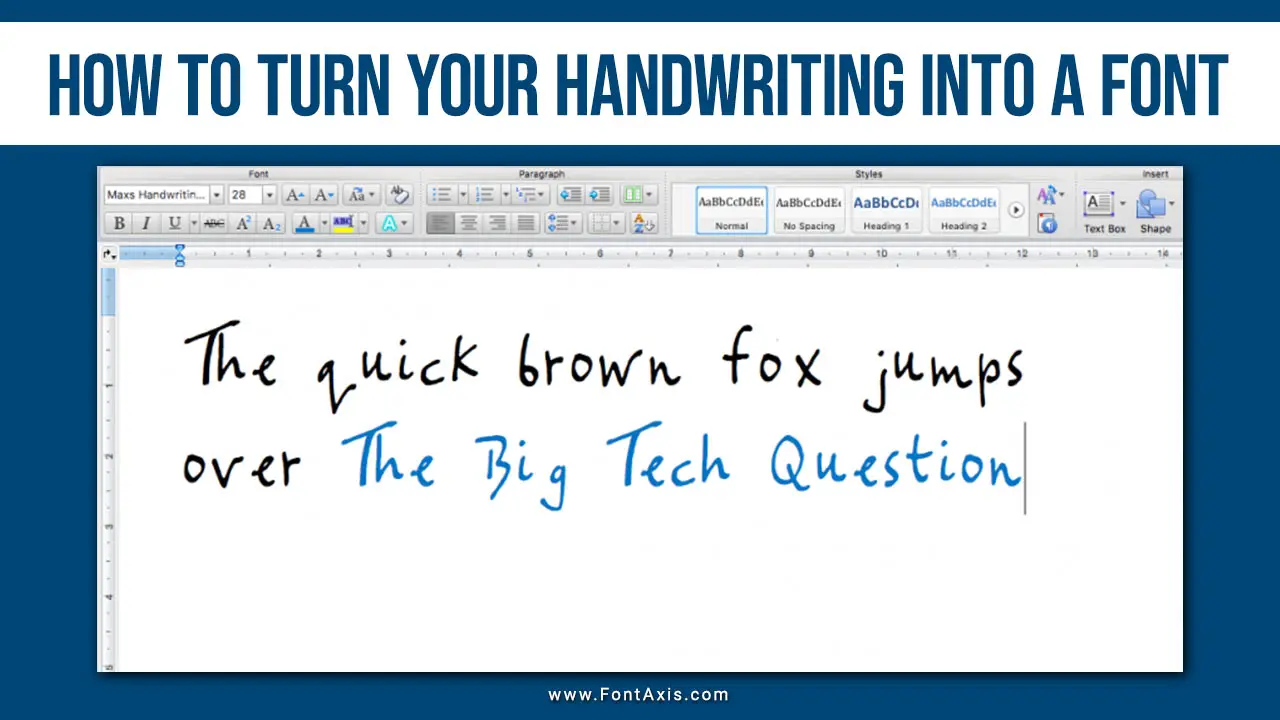
If you’ve ever wanted to see your handwriting on the screen as a font, you’ll be excited to know there are tools to convert it into a usable digital font.
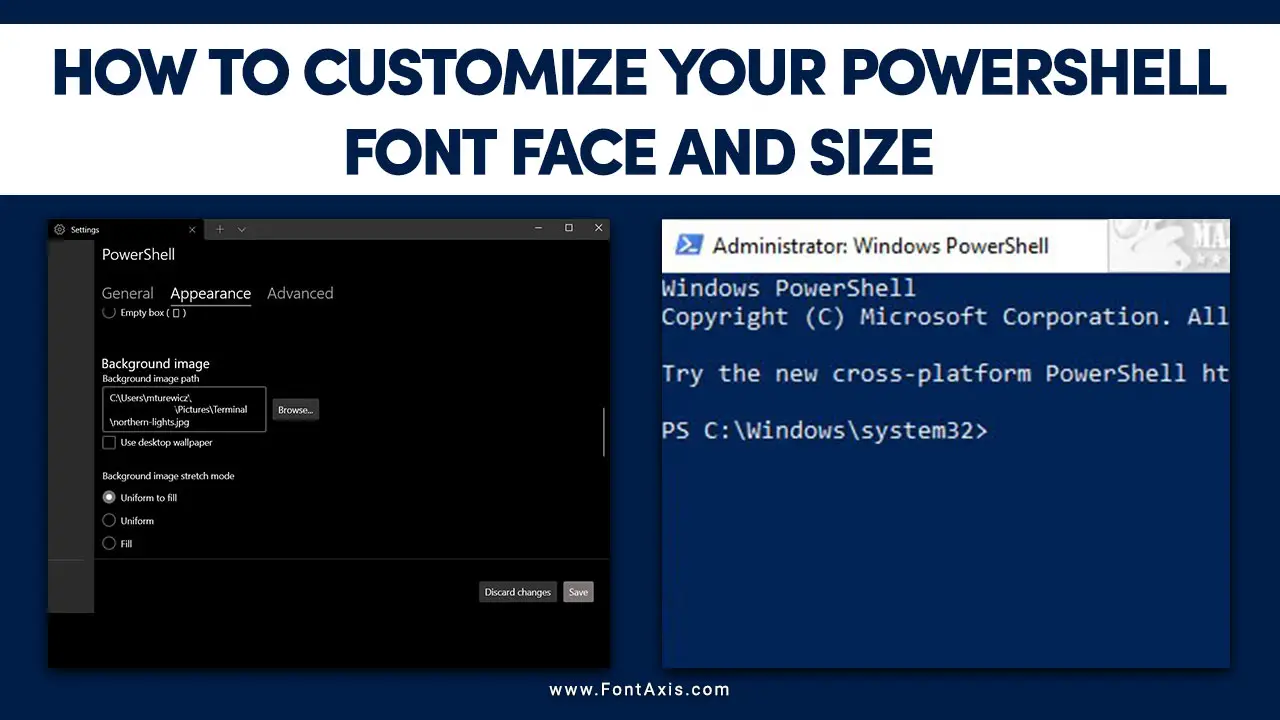
From personalizing scripts in Windows PowerShell to adding flair to Visual Studio Code (VS Code) code, your unique handwriting can make an impact. This guide covers creating, installing, and customising your font across various applications, including PowerShell Console, VS Code, and more.
Step 1: Preparing Your Handwriting Sample
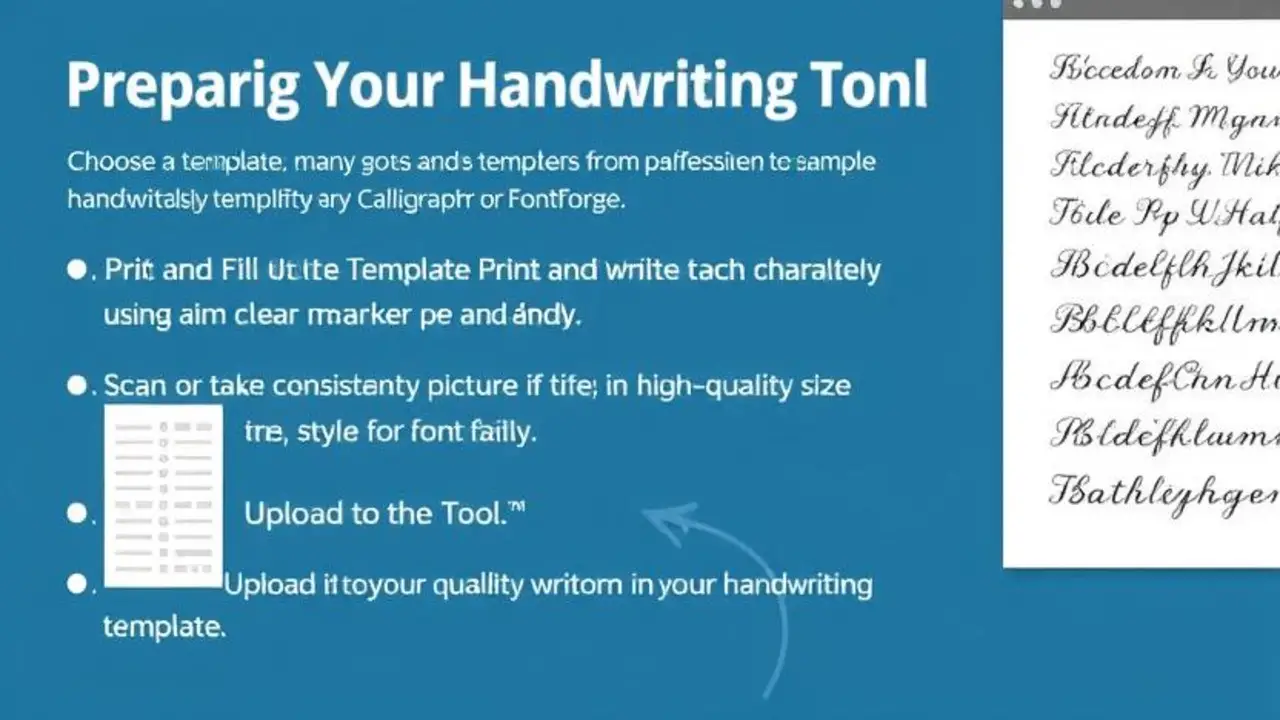
- Choose a Template: Many font-creation platforms offer templates to simplify handwriting conversion. You can find downloadable templates from sites like Calligraphr or FontForge.
- Print and Fill Out the Template: Carefully write each character using a clear marker or pen. Aim for consistency in font size, style, and font family for a balanced look.
- Upload to the Tool: Scan or take a high-quality picture of your filled-out template. Upload it to your font creation tool, transforming your handwriting into a digital font file.
Step 2: Convert The Handwriting To A Font File
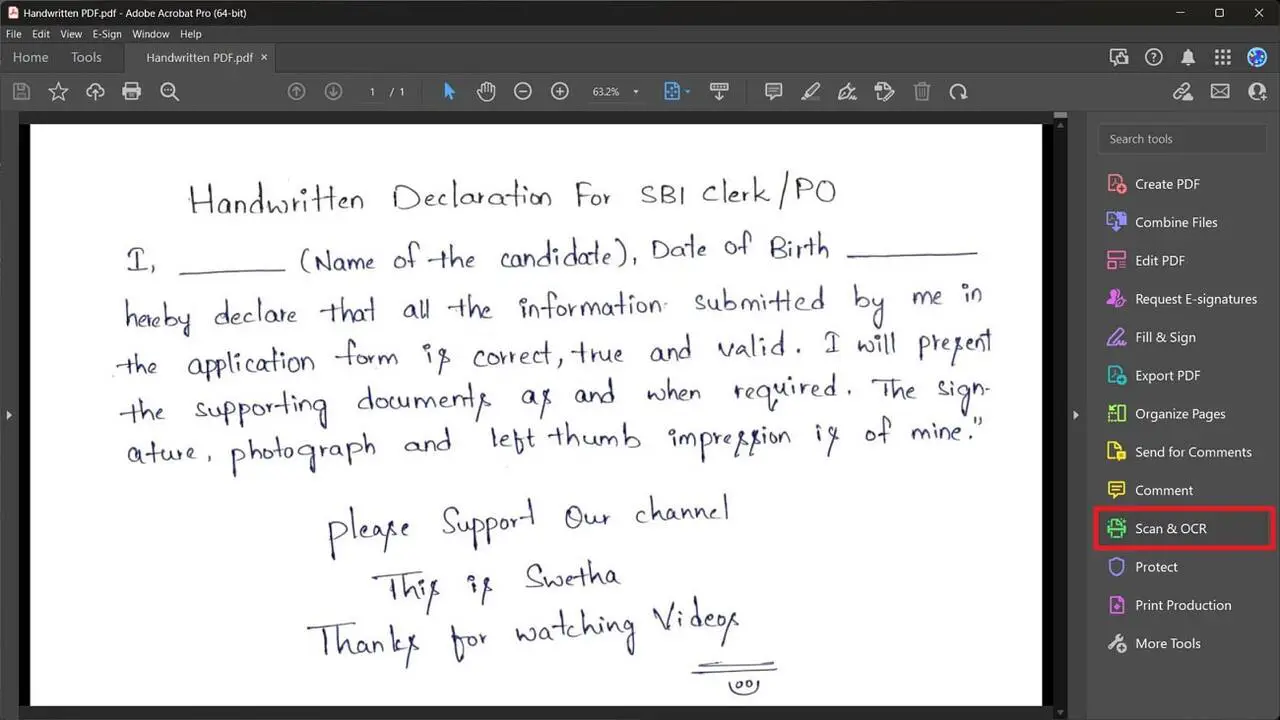
- Generate the Font: Most tools will allow you to review the character set and make edits. When ready, generate a .ttf or .otf file for your custom font.
- Download Your Font: Save the generated file to a designated folder for easy access later.
Step 3: Install Your Custom Font On Windows
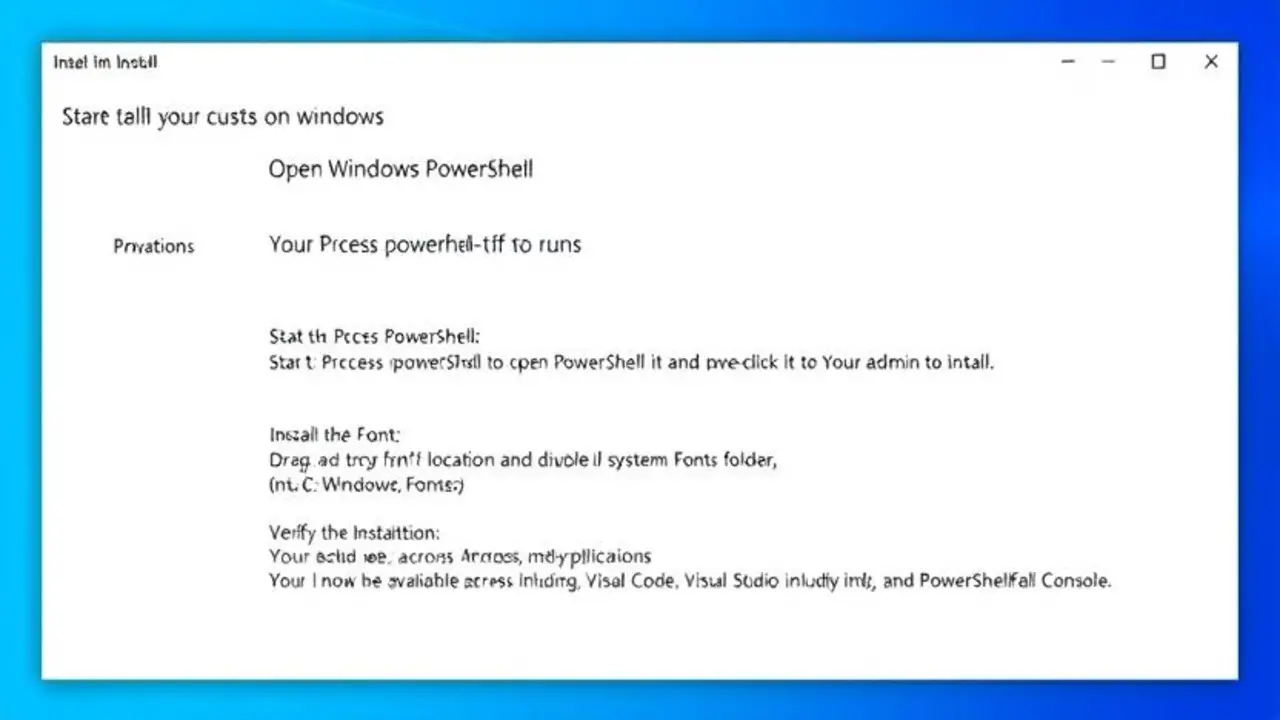
- Open Windows PowerShell:
- Use the command Start-Process powershell -Verb runs to open PowerShell with admin privileges.
- Install the Font:
- In PowerShell, navigate to your font file’s location and double-click it to install.
- Drag and drop the .ttf or .otf file into your system’s Fonts folder (C:\Windows\Fonts).
- Verify the Installation: Your font should now be available across Windows applications, including VS Code, Visual Studio, and PowerShell Console.
Step 4: Setting Your Custom Font In VS Code And PowerShell
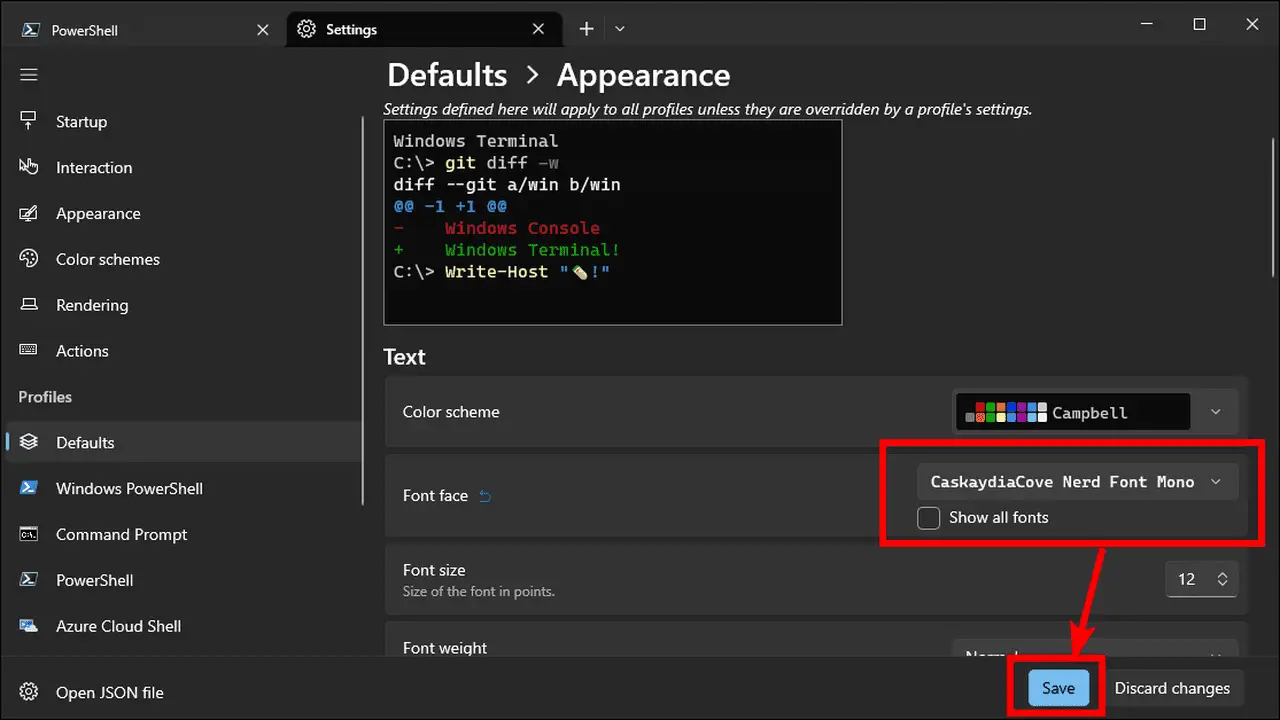
Customizing the Font In VS Code
- Open VS Code and go to Settings.
- In the Text Editor > Font section, update the font family to your new font’s name. Adjust the font size and font color as desired.
- If you use extensions like Nerd Font symbols, check compatibility with your new font to avoid display issues.
Applying The Font In The PowerShell Console
- Open the PowerShell Console and access Properties by right-clicking the title bar.
- Navigate to the Font tab to select your custom font from the list.
- Adjust the font size, color, and window size to your preference.
Note: PowerShell’s default font options are limited. Consider using PowerShell Core or PowerShell Universal for additional customization and module compatibility.
Configuring PowerShell ISE And PowerShell Core
Go to Tools > Options in PowerShell ISE and find the Font and Colors tab. Set your font face and font family here. In PowerShell Core, you can access similar options using a configuration file like settings.json.
Step 5: Advanced Customization Options
For more complex setups, especially if using the font for coding, you might need to configure the following:
- Font Style & Weight: Certain fonts have bold text options or registry key modifications for additional styling.
- PowerShell Profile Configuration: Open your PowerShell Profile (use notepad $PROFILE in PowerShell) and add custom settings, such as a style sheet, to alter window size, font color, or default configurations.
- Module Compatibility: Install additional modules for extended functionality. Due to their readability and monospace design, fonts with Consolas or Lucida Console styles work well with PowerShell scripts.
Conclusion
Following these steps, you can bring your handwriting into digital spaces, making coding or command-line work more personal. This customized font can be added to PowerShell Console, VS Code, and applications across your Windows environment, making it versatile.
FAQs
1.Can I Change My Font Directly In The Powershell Console?
Yes, through the console properties or a PowerShell script, but compatibility limits options.
2.Will My Custom Font Work With Nerd Fonts In VS Code?
If your custom font supports the required symbols, it should be compatible with Nerd Font icons.
3.How Can I Adjust The Default Font Size In VS Code For My Font?
Go to Settings > Text Editor > Font and set the default font size to your preference.
4.Where Can I Download Font-Making Tools?
Many tools, such as FontForge and Calligraphr, are available on the Microsoft Store or online.
5.How Do I Manage Consent Preferences For Cookies While Installing?
Some font-creation platforms use cookies for preferences, which you can control under Manage Consent Preferences on their websites.

