Adding a custom font to Adobe InDesign can significantly enhance your design projects by offering more control over your typography.
Whether you’re working with multiple or variable fonts or simply want to find the perfect typeface for your project, this guide will take you through all the essential steps. We’ll also share key tips and FAQs to make your InDesign experience seamless.
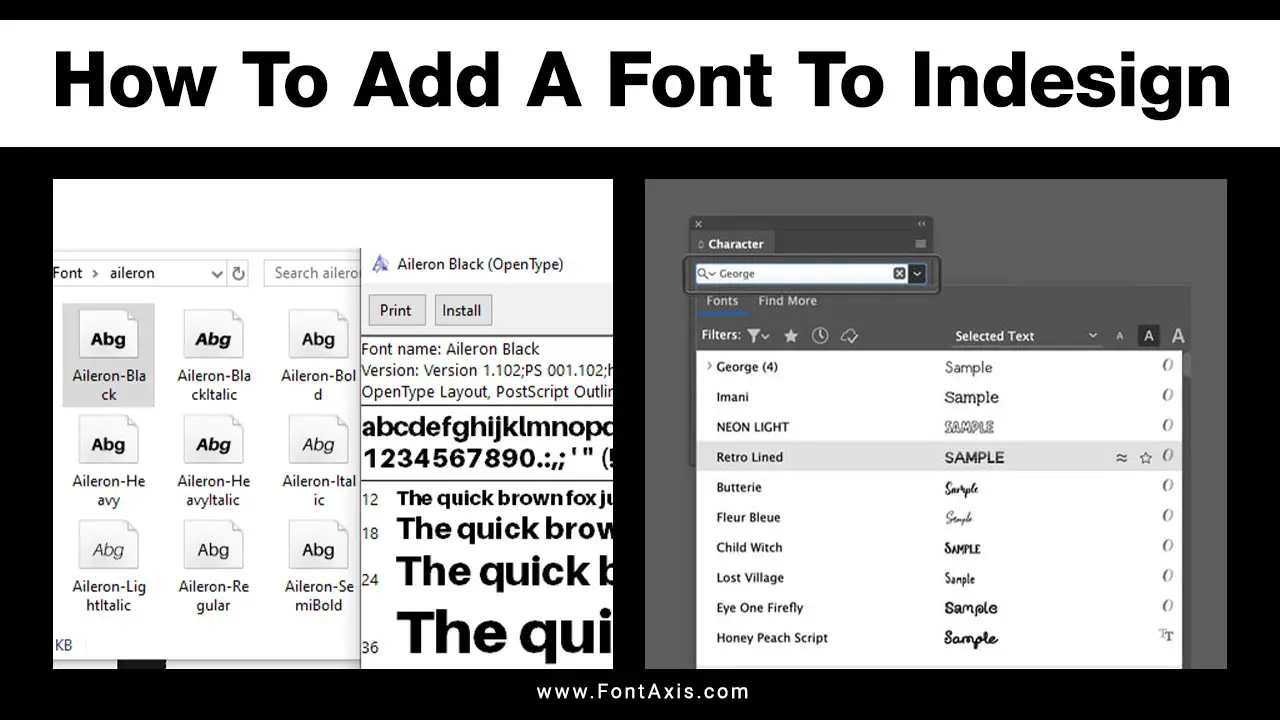
1. Install A New Font For Indesign
The first step to using custom fonts in your InDesign project is installing the font on your computer. Here’s how to add a font to InDesign, whether you’re on Windows or macOS.
Installing Fonts On Windows
- Download the font file in a supported format, like .ttf (TrueType font) or .otf (OpenType font).
- Find the downloaded font file in your Downloads folder.
- Right-click and select “Install” or double-click to preview and click “Install” in the font window.
- The newly installed font will now be available in your InDesign font list.
Installing Fonts On macOS
- Download the font file and locate it in your Downloads folder.
- Double-click the file to open it in Font Book.
- Click the “Install Font” button.
- The font will be added to your system, which you can use in Adobe InDesign.
2. Accessing Fonts In Indesign
Once a font is installed, it will be ready to use in your InDesign project. Follow these steps to apply your new font:
- Open InDesign and create or open an InDesign document.
- Select the Type Tool (T) from the toolbar or press T on your keyboard.
- Click within a text frame or create a new one.
- Open the Character panel to Window > Type & Tables > Character.
- Use the font menu in the Character panel to browse all available fonts.
- Select your desired font from the font list. Your selected font will now be applied to the text.
3. Handling Missing Fonts In Indesign
Sometimes, you may encounter a missing font issue when opening an InDesign file on a different computer. InDesign will automatically try to find fonts or suggest a similar font, but here’s how you can resolve this:
- Check the Find Fonts option in the Type menu.
- Install the missing fonts by downloading them and following the installation steps.
- You can also use Adobe Fonts to replace the missing font with a free or similar font.
- Make sure the fonts are in the correct fonts folder (C:\Windows\Fonts on Windows or /Library/Fonts on macOS).
4. Using Adobe Fonts In Indesign
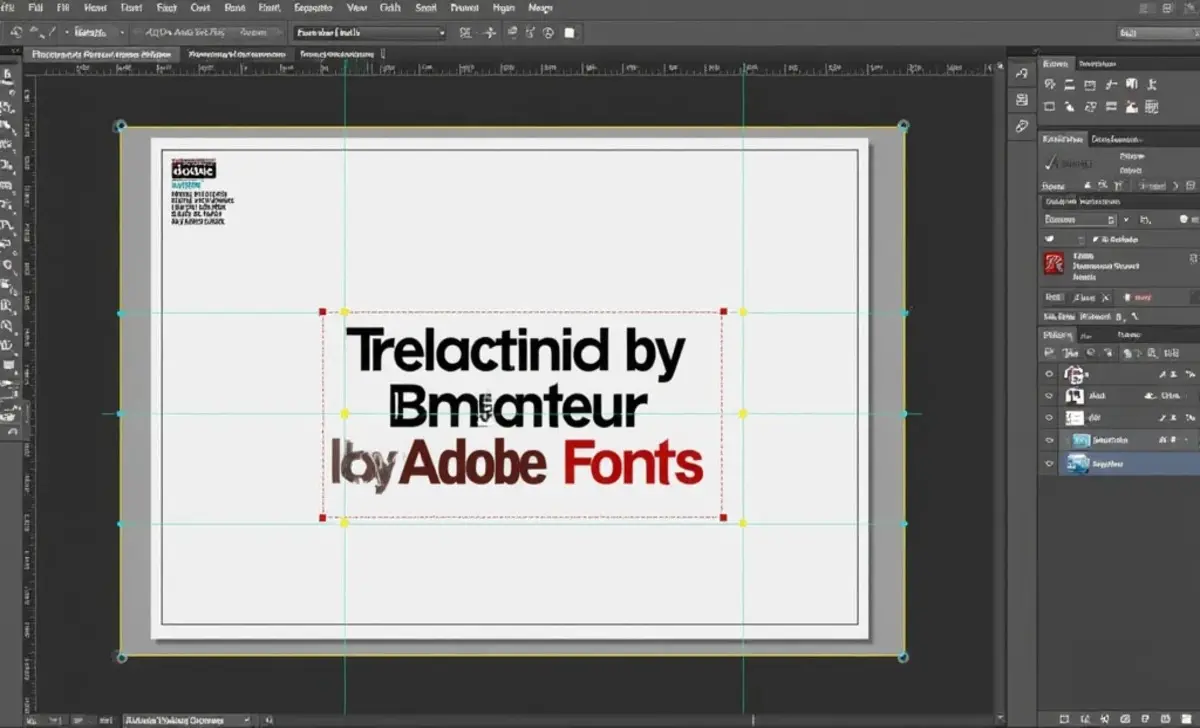
Adobe Fonts provides a vast library of free fonts without leaving the InDesign app.
- Go to the Font Family dropdown in the Character panel.
- Click the Find Fonts tab in the font menu.
- Browse for your desired font from the Adobe Fonts library.
- Click the cloud icon to activate the font. The font will now be available in InDesign, Adobe Illustrator, and other Adobe apps.
5. Working With Variable Fonts In Indesign
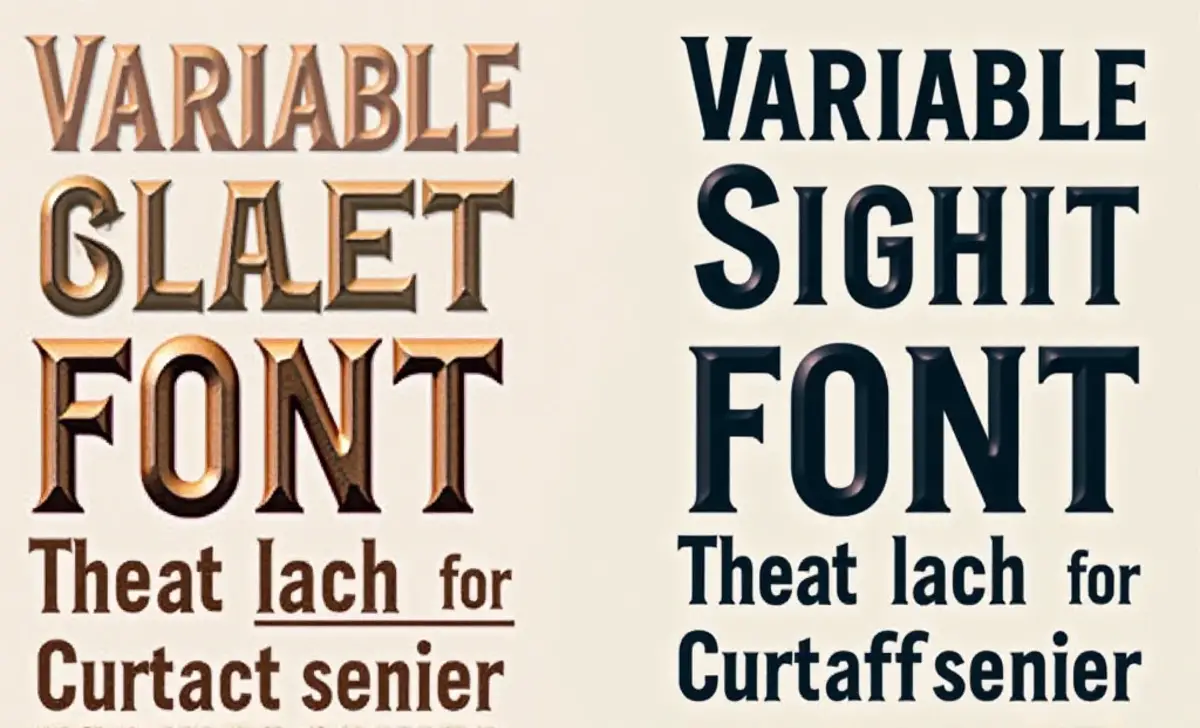
Variable fonts allow for more dynamic control over font styles, such as weight, width, and slant, all within a single typeface.
- After selecting a variable font from the font list, adjust the font size, weight, or other properties from the Character panel.
- You can also define a specific paragraph or character style to maintain consistency throughout your InDesign document.
6. Managing Fonts For Different Projects
For larger projects, it’s important to organize your fonts carefully:
- Use multiple fonts effectively by defining clear paragraph styles and character styles.
- Avoid font clutter by deactivating fonts you don’t need for your current design project.
- Consider saving your InDesign document as a PDF to preserve the fonts you used, especially when sharing with others.
Conclusion
Learning how to add a font to InDesign is essential for any designer working on professional print or digital layouts. Whether using custom fonts, variable fonts, or exploring new typography options, managing your fonts efficiently can elevate your design projects.
Following this guide’s steps, you can easily install and access fonts, resolve missing font issues, and work more effectively within Adobe InDesign.
FAQs
1.Can I Add A Custom Font To Indesign Without Installing It On My System?
No, to use a custom font in InDesign, you need to install the font on your computer first. Once installed, it will appear in the font list in InDesign.
2.How Do I Remove A Font From Indesign?
To remove a font, simply uninstall it from your computer’s fonts folder. InDesign will no longer display the installed font in its font menu.
3.Why Can’t I See My Newly Installed Font In Indesign?
If your newly installed font isn’t showing up, try restarting Adobe InDesign. Also, ensure that the font file is compatible with InDesign and has been placed in the correct fonts folder.
4.Can I Use A Truetype Font In Indesign?
Yes, InDesign supports TrueType, OpenType, and other common font formats.
5.How Do I Fix A Missing Font Error In A Shared Indesign File?
To resolve missing fonts, use the Find Fonts option in the Type menu and either install the missing font or substitute it with a similar font from Adobe Fonts.
