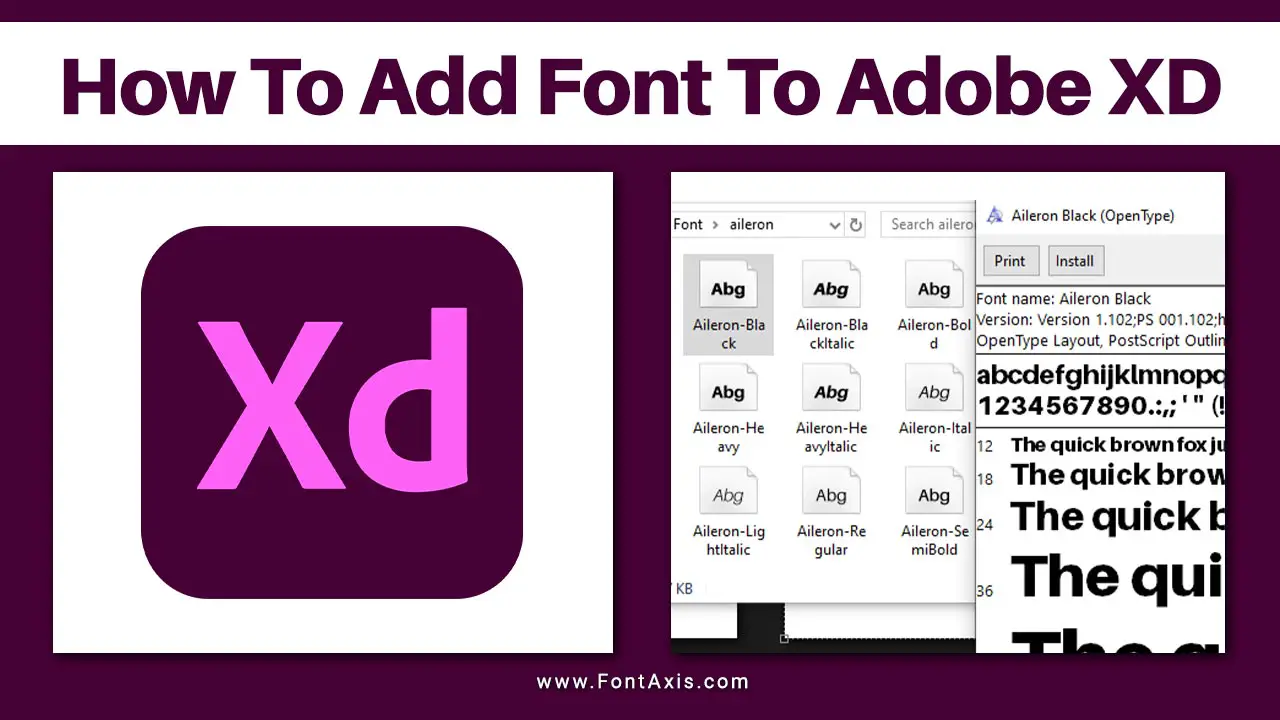
Adobe XD is a powerful design tool that allows designers to create interactive prototypes and stunning user interfaces. One of the essential elements of design is typography. In this guide, we’ll walk you through adding fonts to Adobe XD, ensuring that your projects reflect the right style and aesthetic.

Step-By-Step Guide To Adding Fonts In Adobe XD
Here’s how to seamlessly add Adobe and custom fonts to your XD files.

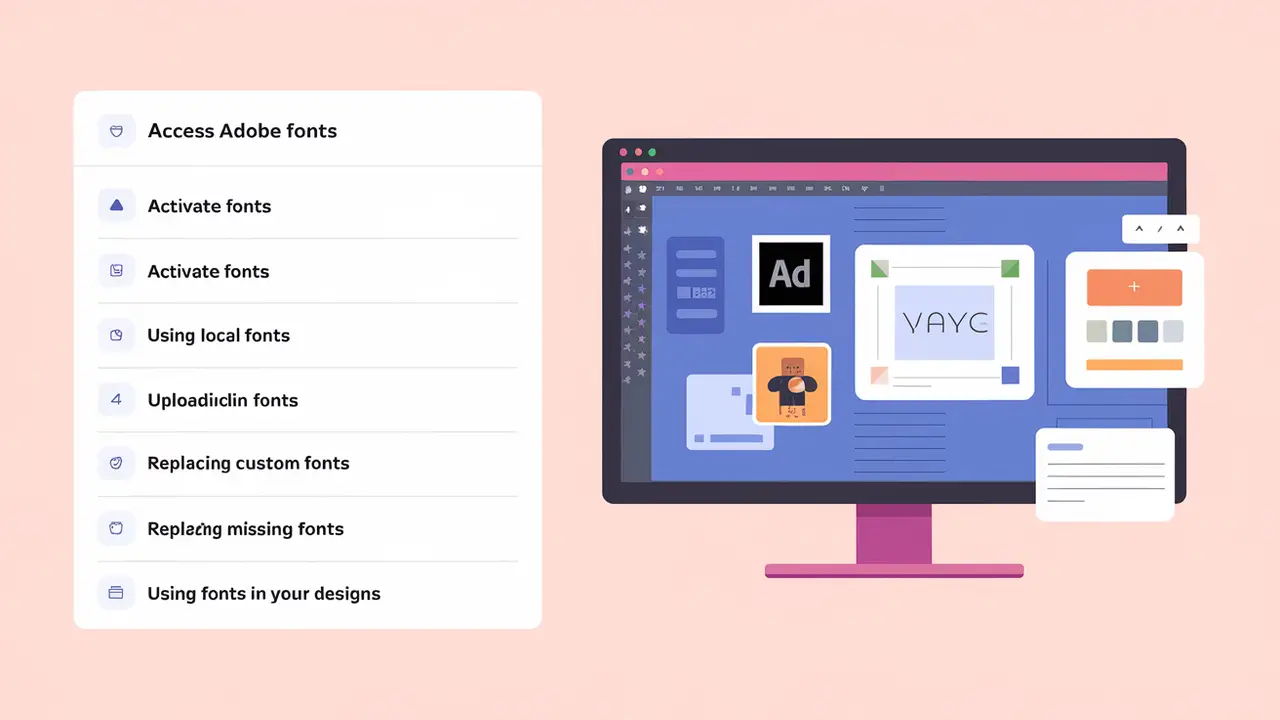
1. Access Adobe Fonts
- Open your Creative Cloud desktop app and sign in to your Adobe account.
- Navigate to the Fonts section within the app to explore the Adobe Fonts library.
2. Activate Fonts
- Browse through the library to find the right font for your design.
- Once you find the desired font, click the Activate button. The font will then be available for use in your Adobe XD app.
- You should also check the font weight and font style options to select the most suitable version of the font you need.
3. Using Local Fonts
If you have a specific font that you want to use and it’s not available in Adobe Fonts, you can install it locally:
- Download the font file (usually in .ttf or .otf format) from a reputable source.
- For Windows, right-click the font file and select Install. Double-click the font file on macOS and click Install Font using Font Book.
- Restart the Adobe XD app to make sure the installed font is recognized.
4. Uploading Custom Fonts
If you’re using a custom font that you’ve previously downloaded or purchased, you can upload it directly into your project:
- Open your Adobe XD file or create a new XD cloud document.
- Go to File > Import, and select the font file you wish to upload. This will make the font available in the Adobe XD app.
5. Replacing Missing Fonts
If you open an XD file and notice missing fonts, Adobe XD usually suggests a replacement font from the Adobe Fonts library. If the original font is essential to your design:
- Open the Adobe XD community and search for the font or similar styles.
- Utilize the XD plugin, which assists in finding similar fonts within the community.
6. Using Fonts In Your Designs
Once you have added or activated the fonts:
- Select the text tool in your Adobe XD file.
- The properties panel lets you choose your font family, style, and weight. Make sure to adjust the size to fit your design.
- You can create interactive prototypes by integrating text with Lottie animations or other design elements.
Conclusion
Adding fonts to Adobe XD is crucial for enhancing your designs and achieving the desired visual impact. By utilizing Adobe Fonts, installing local or custom fonts, and effectively managing font styles and weights, you can create cohesive and engaging prototypes. With these techniques, you’ll be well-prepared to elevate your design projects and communicate your ideas effectively.
FAQs
1.How Do I Install A Font On Adobe XD?
To install a font, activate it via the Creative Cloud app or download and install local fonts directly on your computer.
2.What Should I Do If My Fonts Are Missing In An XD File?
If fonts are missing, Adobe XD will suggest replacement fonts. You can also check the Adobe Fonts library for similar styles.
3.Can I Use Google Fonts In Adobe XD?
Yes, you can use Google Fonts by downloading the font files and installing them locally on your computer.
4.How Can I Access Uploaded Fonts In Adobe XD?
Uploaded fonts can be accessed through the text properties panel once installed on your system or activated via Adobe Fonts.
5.Where Can I Find Additional Font Resources?
Explore the Adobe community forums or websites like Google Fonts for more font options and design inspirations.
