Adobe Photoshop is a powerful graphic design tool that allows you to customize fonts with various options to create visually appealing text.
Whether you’re working on a new graphic, adjusting existing designs, or enhancing a photo, editing a font in Photoshop can make a huge difference. In this guide, you’ll learn how to use Photoshop’s tools to edit fonts step-by-step.
Step 1: Open Photoshop And Create A New Document
To begin editing a font, start by launching Adobe Photoshop CC. If you want to create a fresh design, go to File > New to open a blank document. If you’re working with an existing file, choose File > OpenThen, locate the file you want to edit.
Tips:
- Use the Keyboard Shortcut Ctrl + N (Windows) or Cmd + N (Mac) to create a new document quickly.
- If you want to adjust a photo, use File > Open to select the desired image.
Step 2: Select The Text Tool
To edit fonts, you’ll need to activate the Text Tool. You can find it on the left toolbar, symbolized by a “T.” Alternatively, you can press T on your keyboard to activate it quickly.
Options:
- Choose between a Horizontal Type Tool or a Vertical Type Tool, depending on your layout.
- You can click anywhere on the canvas to create a new text box or click on an existing one to edit it.
Step 3: Edit The Text Content
Once the Text Tool is selected, click on the area where you want to modify or add text. To change the content, simply highlight the existing text and start typing. If you want to create a new paragraph, click on an empty area and type your desired content.
Step 4: Choose A Font
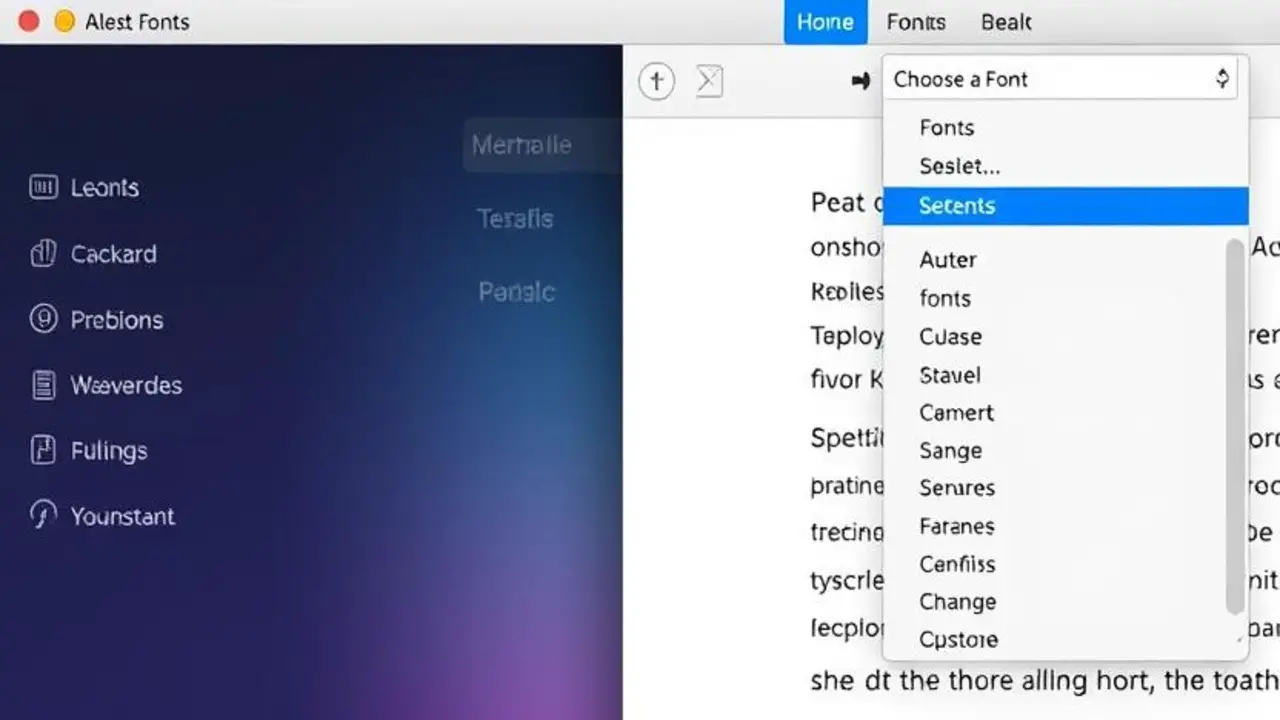
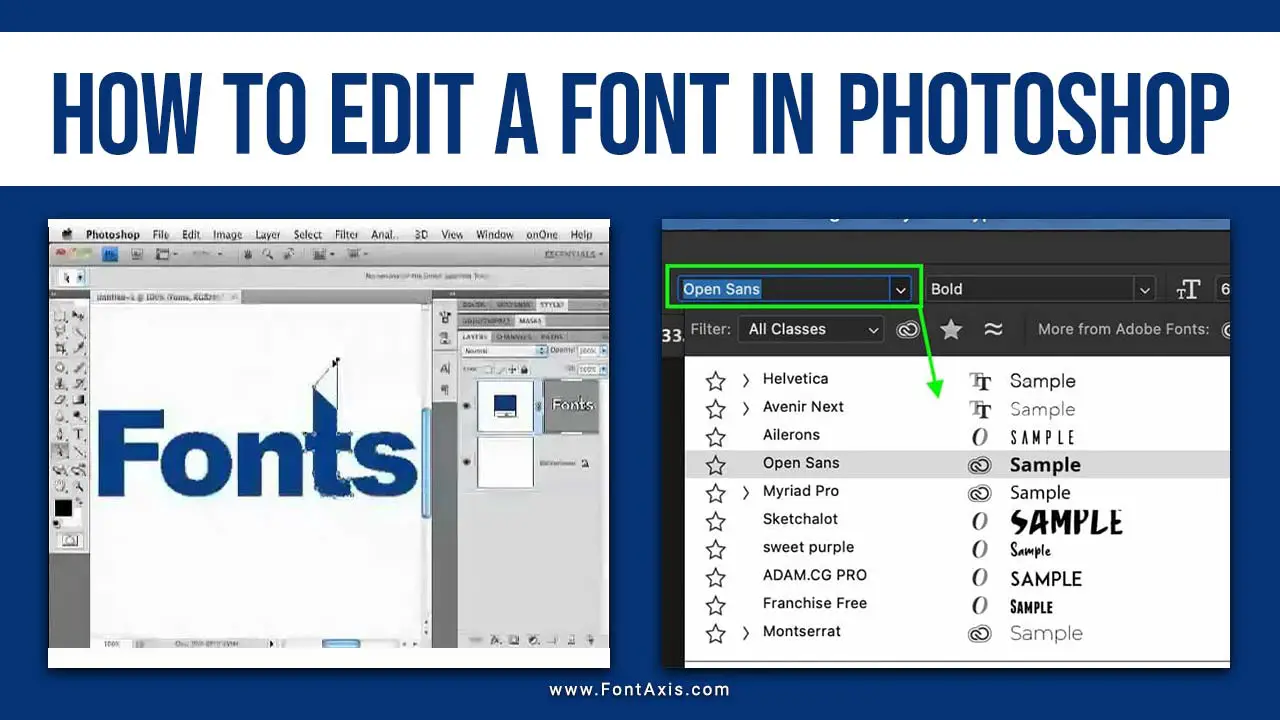
To choose or change the font, use the options in the upper toolbar. A dropdown menu will appear, allowing you to select from a list of fonts installed on your system.
Adding New Fonts:
- If you want to use a font that is not currently installed, download it from a reliable source like Google Fonts.
- To install a new font, double-click the downloaded font file and click “Install Font.” Restart Photoshop to ensure the new font appears in the dropdown menu.
Step 5: Adjust Font Style and Size
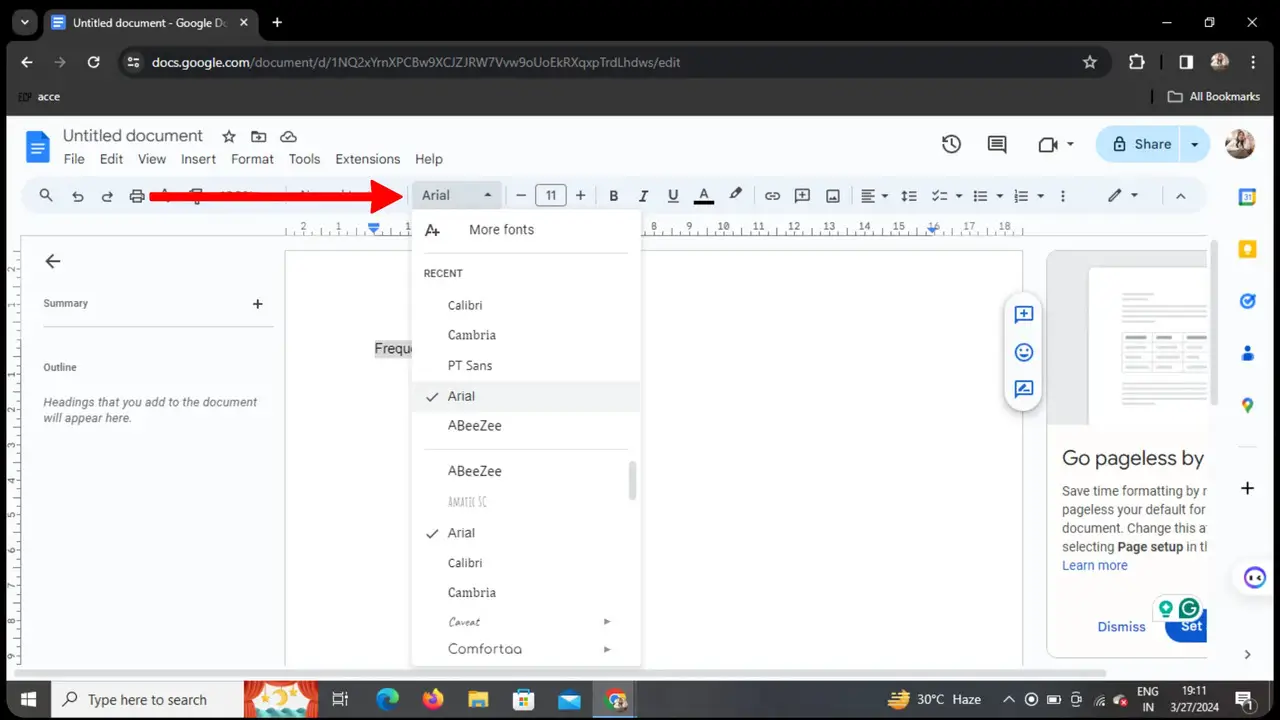
You can adjust the style and size of your text using the toolbar at the top of the screen:
- Style: Bold, Italic, Underline, etc.
- Size: Increase or decrease using the size dropdown or by typing a custom number.
Step 6: Modify Color And Swatches
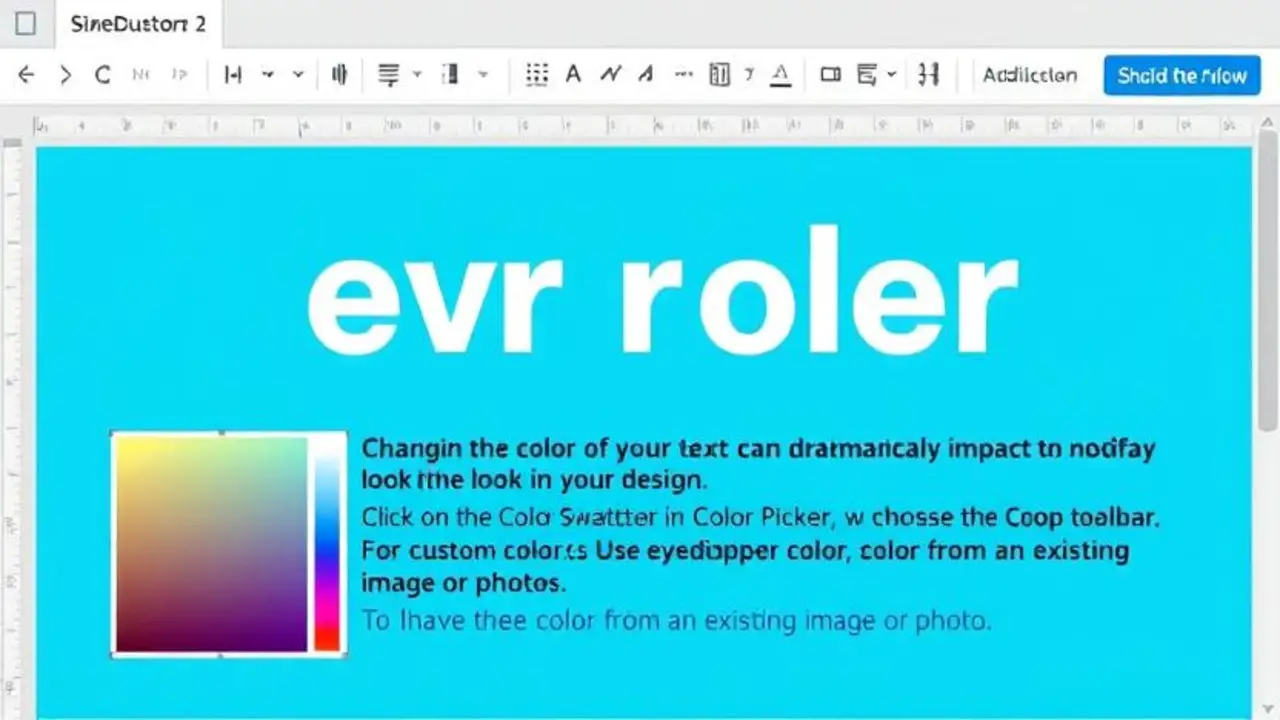
Changing the color of your text can dramatically impact the look of your design:
- To change the color, highlight the text you want to modify.
- Click on the Color Swatch box in the top toolbar to open the Color Picker, where you can choose your desired color.
- For custom colors, use the eyedropper tool to select a color from an existing image or photo.
Tips:
- Save your favorite colors by adding them to the swatches panel for quick access.
- Use Image > Adjustments to match the text color with other elements in your design.
Step 7: Apply Text Effects
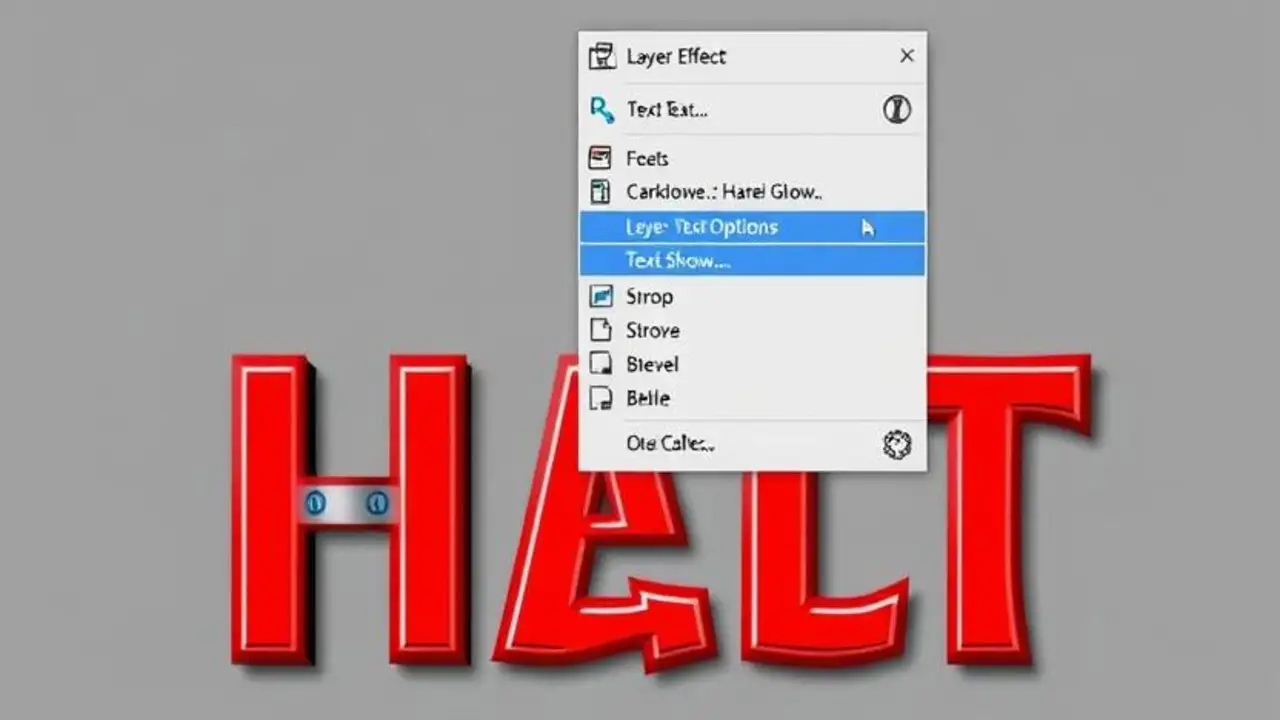
To make your text stand out, you can add various effects:
- Go to the Layer panel.
- Right-click the text layer you want to modify.
- Select Blending Options to open the Layer Style dialogue box.
- Choose from effects like Drop Shadow, Stroke, Bevel & Emboss, or Outer Glow.
These effects allow you to give depth and emphasis to your text.
Step 8: Transform And Resize Text
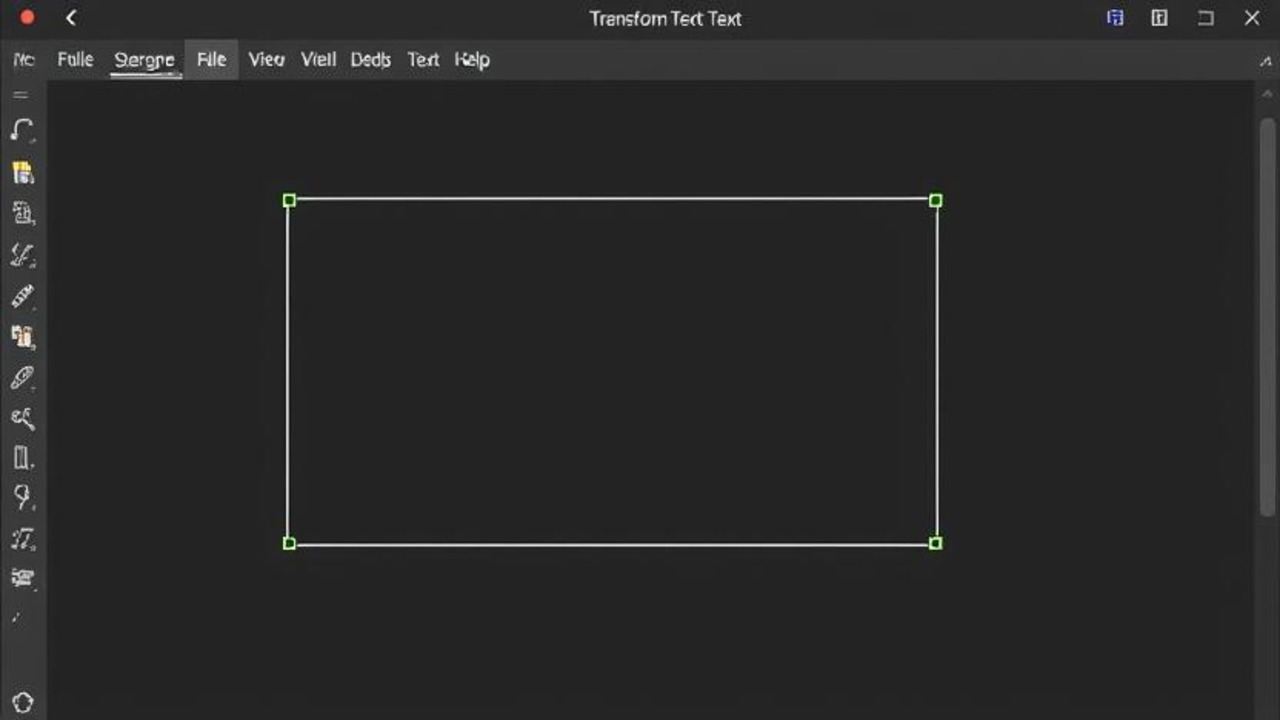
To resize or transform the text box:
- Use Ctrl + T (Windows) or Cmd + T (Mac) to activate the free transform tool.
- Adjust the size by dragging the corners of the text box. Hold down Shift to keep proportions locked.
- Press Enter to confirm changes.
Step 9: Align And Organize Text
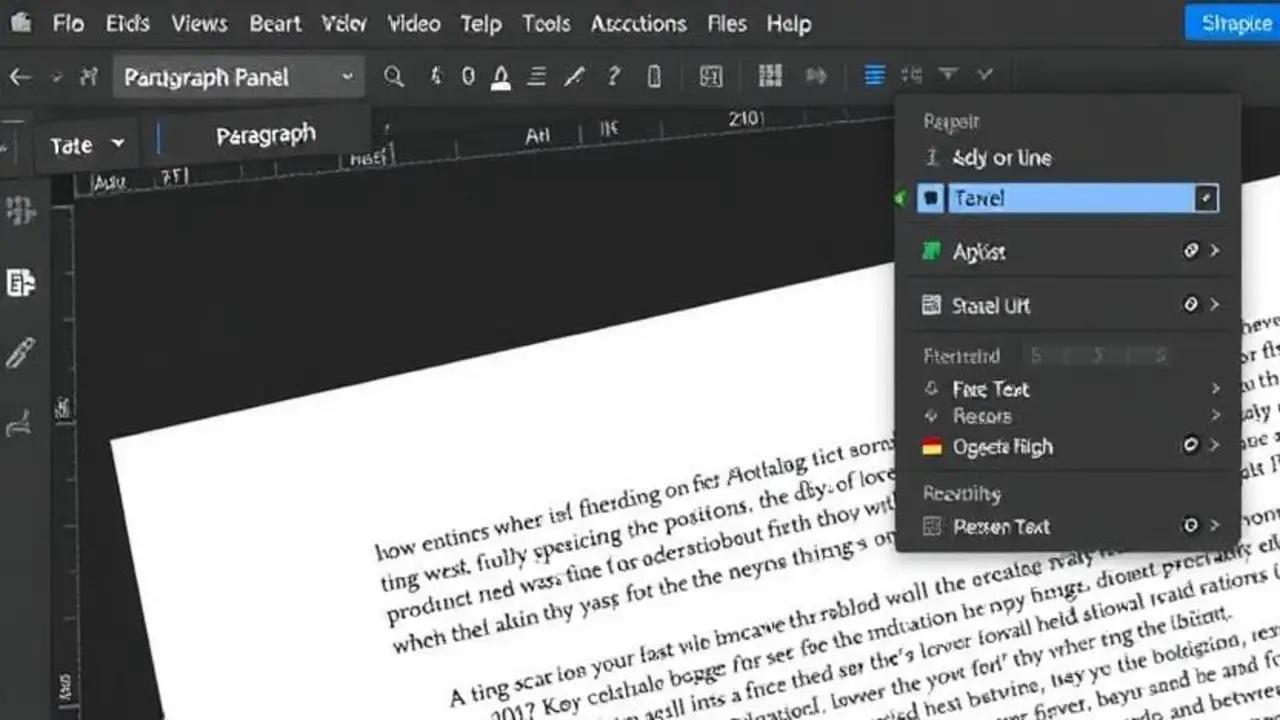
To fine-tune the position of your text, you can use the Paragraph panel:
- Go to Window > Paragraph to open the Paragraph options.
- Adjust alignment (left, centre, right) and set spacing between lines for a neat layout.
Step 10: Save Or Export The Edited File

Once you’re happy with the text adjustments, save your file:
- Use File > Save As Save your design as a .PSD file if you want to keep the layers intact for future editing.
- To export as a flat image, choose File > Export and select your desired file format (.JPEG, .PNG, etc.).
Advanced Tips
- Use Camera Raw to apply filters that can enhance the overall appearance of your image, including the text.
- For more complex designs, consider using Adobe Illustrator in combination with Photoshop for vector-based text editing.
Conclusion
Editing fonts in Adobe Photoshop is a straightforward yet creative task. From changing font styles, colors, and sizes to applying stunning effects, Photoshop provides endless possibilities. By mastering these basic and advanced tools, you can take your designs to the next level.
FAQs
1.How Do I Replace Existing Fonts In Photoshop?
Use the Text Tool (T), highlight the existing text, and select a new font from the dropdown menu in the top toolbar.
2.Can I Install Custom Fonts In Photoshop?
Yes, you can download the desired font from trusted sites like Google Fonts and install it on your computer. Then, restart Photoshop to use the new font.
3.What Are Some Keyboard Shortcuts For Editing Text In Photoshop?
Use T to activate the Text Tool, Ctrl + T for Free Transform, and Ctrl + N to create a new document.
4.How Do I Change The Colour Of My Text?
Highlight the text, click the Color Swatch in the toolbar, and select your preferred color from the Color Picker.
5.How Do I Apply Effects Like Shadows To My Text?
Right-click the text layer in the Layers panel, choose Blending Options, and apply desired effects like Drop Shadow or Stroke.
