Font Awesome is one of the most popular icon libraries used in web development. It provides a vast selection of icons, including scalable vector icons that you can customize and use freely in your web projects. This guide will explain how to add Font Awesome to your HTML and take advantage of its wide array of icons, both free and pro.
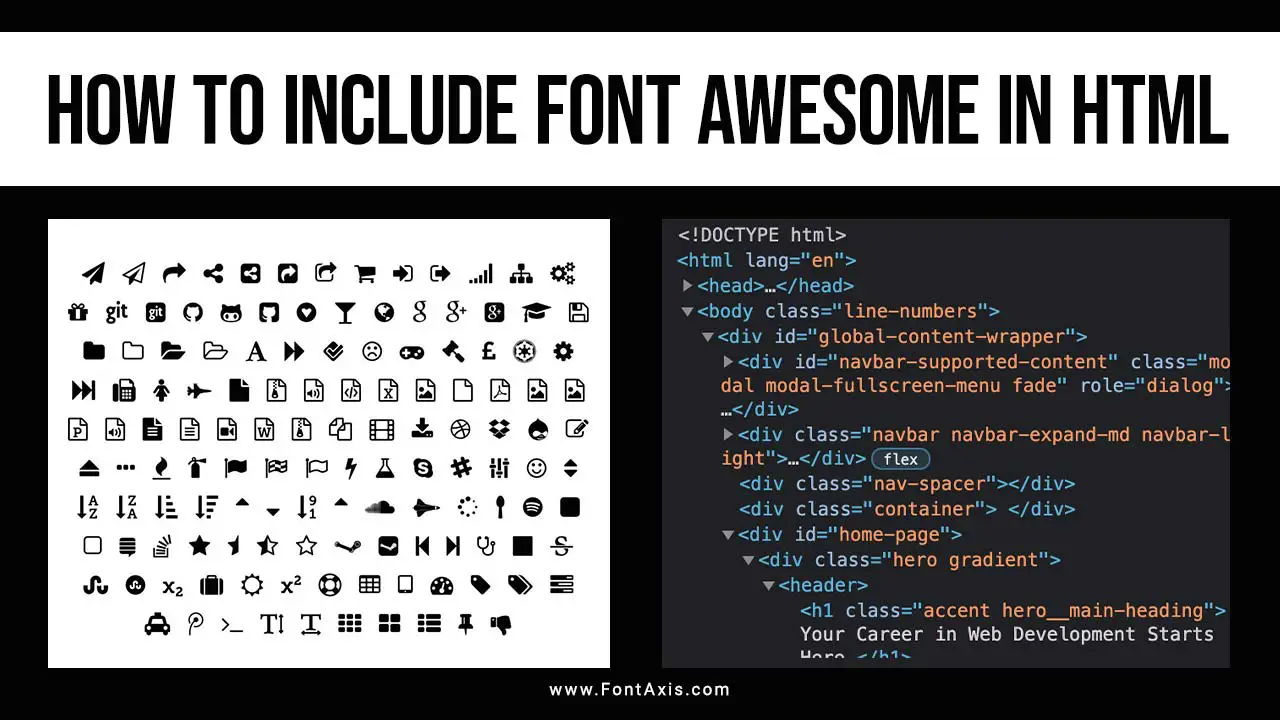
How To Include Font Awesome In HTML
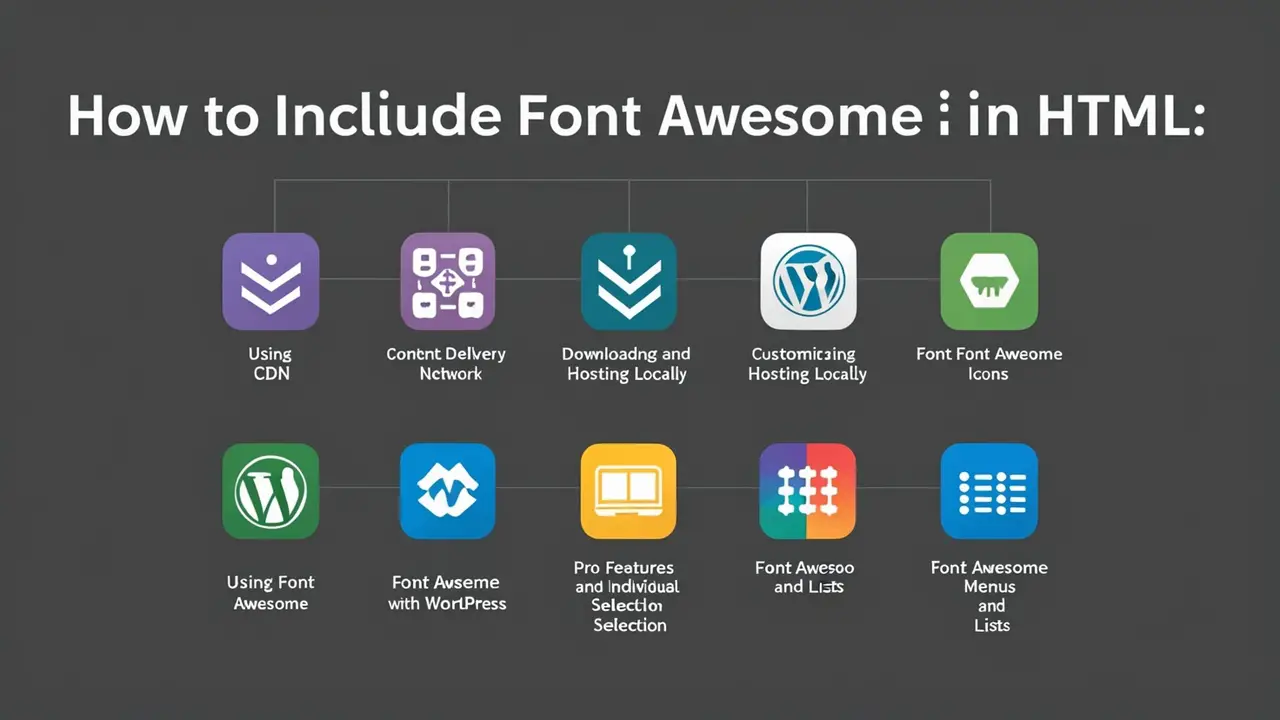
There are several ways to add Font Awesome to your HTML, from using a CDN to downloading files for a local setup. Here’s a breakdown of each method:
1.Using CDN (Content Delivery Network)

One of the easiest ways to include Font Awesome is by using their official CDN. This method is simple and doesn’t require any downloads. Here’s how:
- Add the following <link> tag to the <head> section of your HTML file:
html
<link rel=”stylesheet” href=”https://cdnjs.cloudflare.com/ajax/libs/font-awesome/4.7.0/css/font-awesome.min.css”> - You can now use Font Awesome icons directly in your HTML with a simple code snippet. For example:
html
<i class=”fa fa-camera”></i>
This method is perfect for those who want a quick and straightforward integration without downloading additional assets.
2.Downloading And Hosting Locally
If you prefer to have the Font Awesome file on your server, follow these steps:
- Download the Font Awesome package from their official site.
- Extract the downloaded file and copy the font-awesome directory into your project.
- Include the font-awesome.min.css in your <head> like this:
html
<link rel=”stylesheet” href=”path/to/font-awesome/css/font-awesome.min.css”> - Now, you can add icons to your site, just like in the CDN method.
This setup is ideal if you want to customize the library or ensure faster loading times without relying on a third-party CDN.
3.Customizing Font Awesome Icons
![]()
Font Awesome icons are extremely flexible and can be styled using CSS. Here are a few common customizations:
Changing Icon Size
To make an icon larger or smaller, you can use predefined classes like:
html
<i class=”fa fa-camera fa-lg”></i> <!– Larger icon –> <i class=”fa fa-camera fa-2x”></i> <!– 2x larger –> <i class=”fa fa-camera fa-3x”></i> <!– 3x larger –>
Adding Colors
You can change the color of the icons using CSS:
html
<i class=”fa fa-camera” style=”color: #f00;”></i> <!– Red icon –>
Animated Icons
To create an animated icon, use the fa-spin or fa-pulse classes:
html
<i class=”fa fa-spinner fa-spin”></i> <!– Spinning icon –> <i class=”fa fa-spinner fa-pulse”></i> <!– Pulsing icon –>
Stacked Icons
If you want to layer multiple icons together, use the fa-stack class:
html
<span class=”fa-stack fa-lg”> <i class=”fa fa-circle fa-stack-2x”></i> <i class=”fa fa-flag fa-stack-1x fa-inverse”></i> </span>
This stacked effect is excellent for creating unique, custom icons.
4. Using Font Awesome With WordPress
Adding Font Awesome to WordPress is relatively straightforward. You can use a plugin or include it manually:
Using A Plugin
- Go to your WordPress dashboard.
- Navigate to Plugins > Add New.
- Search for “Font Awesome” and install a reliable plugin like “Better Font Awesome”.
- Once activated, you can use icons directly in your posts or pages.
Manual Integration
- Follow the CDN steps mentioned above.
- Add the <link> tag to the header.php file of your WordPress theme.
5. Pro Features And Individual Icon Selection
![]()
Font Awesome offers a Pro version with additional features, such as more icons and the ability to customize them further. Additionally, you can use their website to pick and choose individual icons, download them, and add them to your project as desired.
6. Font Awesome For Menus and Lists
Font Awesome icons are commonly used in navigation menus and lists to enhance the user experience:
Adding Icons To Lists
To create a better-looking list, use Font Awesome icons:
html<ul> <li><i class=”fa fa-check”></i> Item One</li> <li><i class=”fa fa-check”></i> Item Two</li> <li><i class=”fa fa-check”></i> Item Three</li> </ul>
Icons In Menus
Icons in navigation menus can make them more visually appealing:
html<nav> <ul> <li><i class=”fa fa-home”></i> Home</li> <li><i class=”fa fa-info-circle”></i> About</li> <li><i class=”fa fa-envelope”></i> Contact</li> </ul> </nav>
Conclusion
Font Awesome is a versatile and powerful library that adds a professional touch to any website. Whether you’re building a new site or enhancing an existing one, the flexibility, ease of use, and scalability of Font Awesome icons make it a top choice for web developers. Choose the best method for your project needs, and build a visually attractive and engaging web experience.
Frequently Asked Questions (FAQs)
1.How Do I Add Font Awesome To An HTML File?
To add Font Awesome, you can use a CDN by adding a <link> tag in your <head>. Alternatively, download and host the Font Awesome files locally.
2.Can I Use Font Awesome Icons For Free?
Yes, Font Awesome offers a free version with many icons and a pro version with additional icons and features.
3.How Do I Change The Size Of A Font Awesome Icon?
To make icons larger, use predefined CSS classes like fa-lg, fa-2x, or fa-3x. You can also set a specific font size in CSS.
4.Is Font Awesome Compatible With WordPress?
Yes, Font Awesome can be integrated into WordPress using plugins or by manually adding the CDN link to the theme’s header.php.
5.Can I Animate Font Awesome Icons?
Yes, use fa-spin or fa-pulse classes to create animated icons for dynamic visual effects.
