Fonts play a crucial role in graphic design, from enhancing a brand’s identity to conveying a message in a unique style. Sometimes, an existing font may not match the aesthetic you’re aiming for, and you may need to create a custom font.
With the right tools like Adobe Illustrator, Photoshop, and font creation software, you can design a new font by converting images into a typeface. Here we’ll walk you through how to create a font from an image step-by-step.
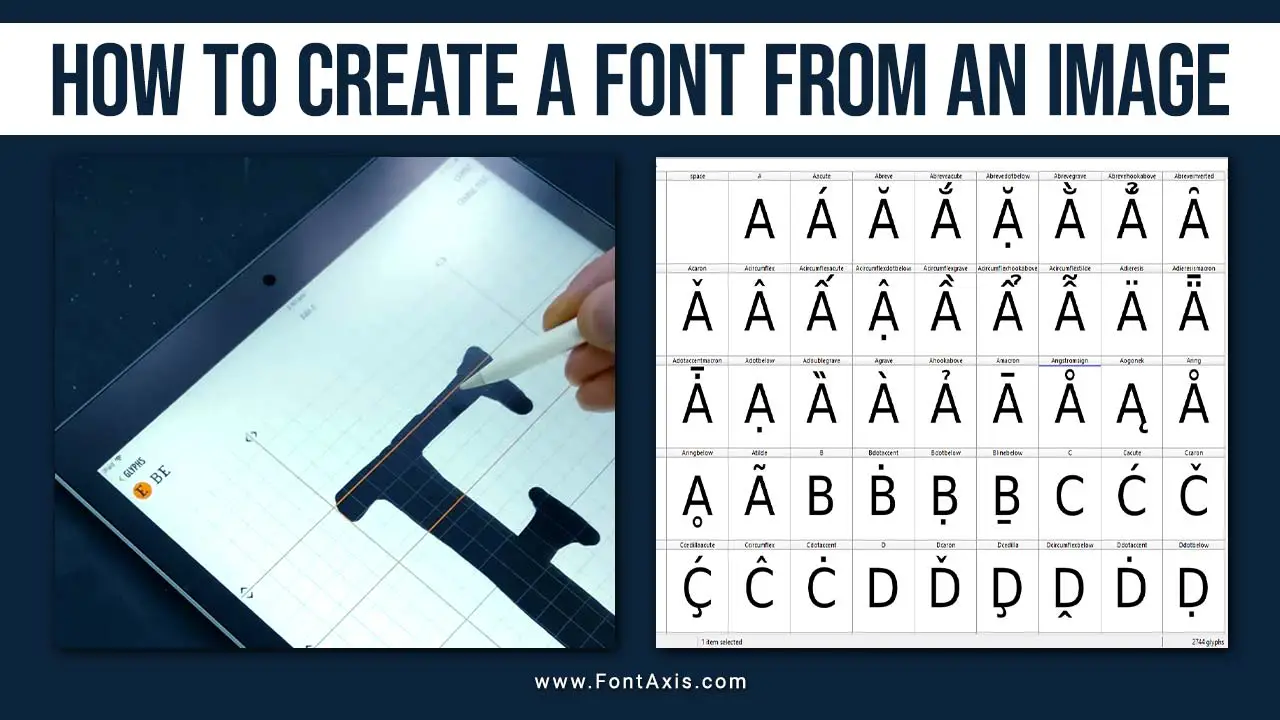
Step 1: Choose The Right Image For Your Font Design
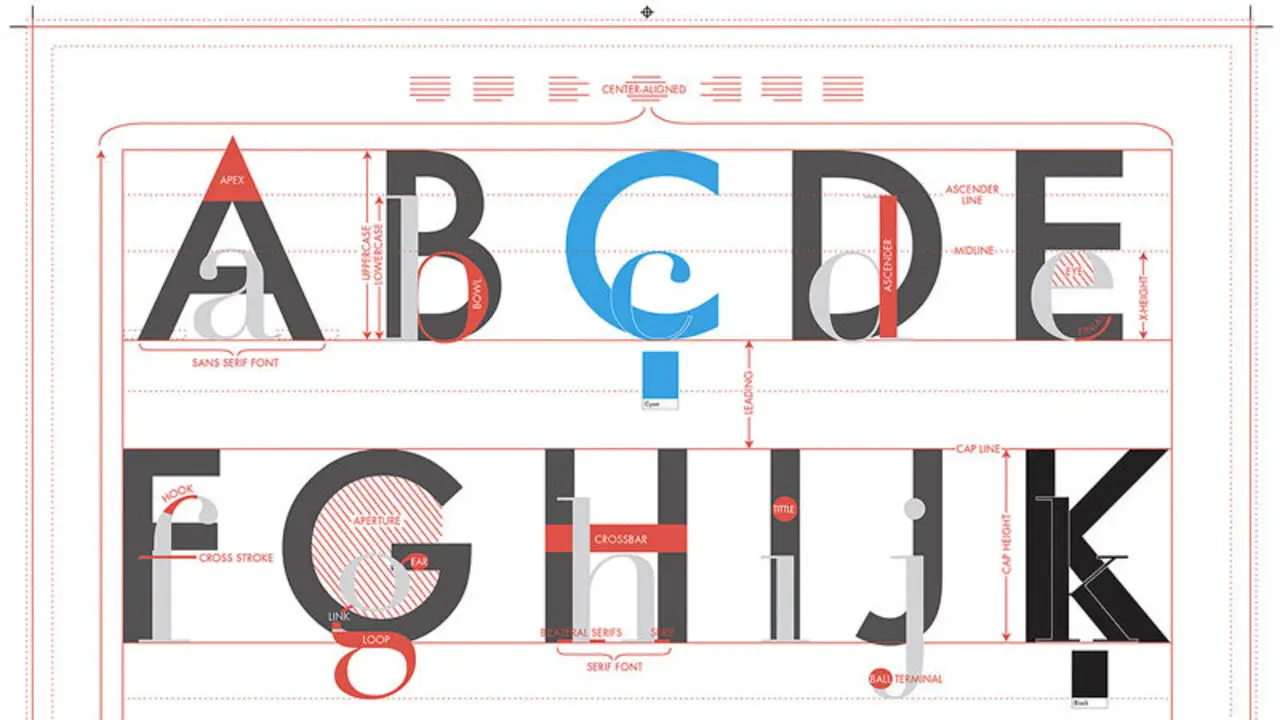
The first step in creating a custom font from an image is to choose the right image file. This image can be a bitmap image (e.g., a drawing, logo, or handwriting) that you want to transform into characters for your font. Ensure the image is clear, high-quality, and detailed enough to be converted into vector graphics for better scaling and usability.
Step 2: Trace The Image Using Adobe Illustrator

Once you have the background image or bitmap image you want to use, open it in Adobe Illustrator. Illustrator is ideal for font creation because it supports vector format, allowing you to scale your font without losing quality. Here’s how to trace your image:
- Open Illustrator: Start a new project and import your image file.
- Image Trace: Select your image, then go to the toolbar and select the “Image Trace” option. This will convert your bitmap into a vector graphic.
- Expand: After tracing, click “Expand” to convert the traced image into individual vector shapes. You can now edit each element separately, which is essential for creating different glyphs for your font.
Step 3: Refine The Traced Image
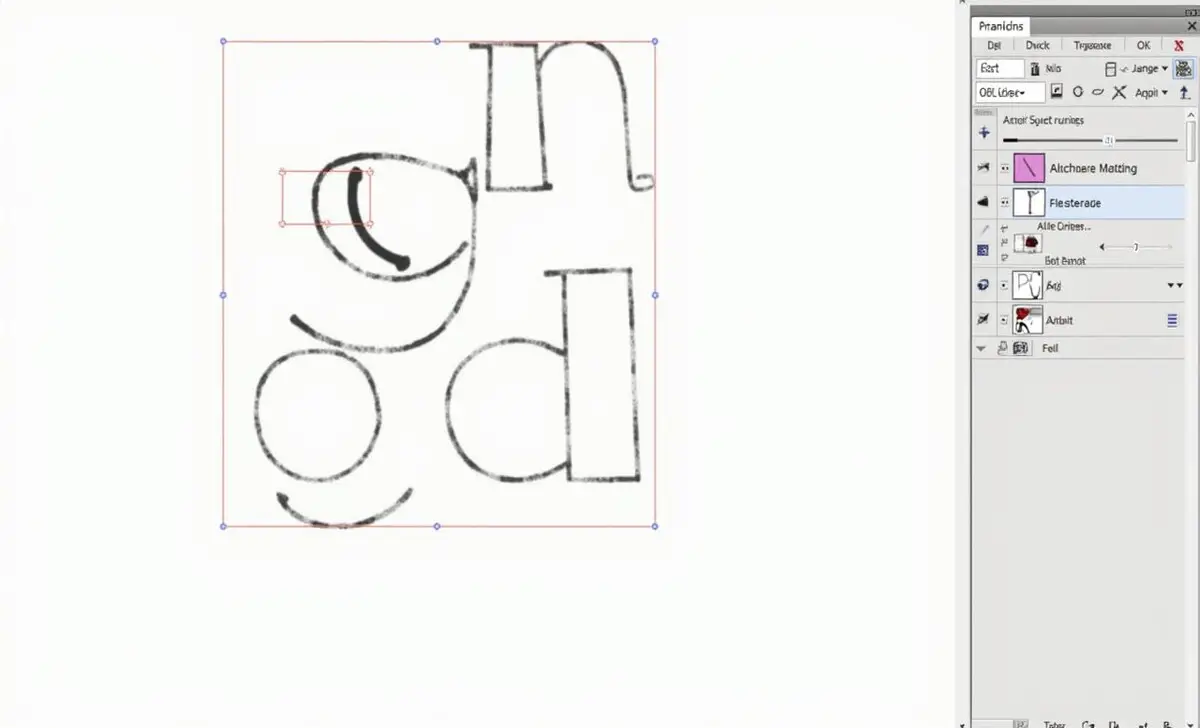
After tracing the image, you may need to refine it to ensure smooth edges and clear character shapes. Use Illustrator’s Pen tool or Shape tool to clean up any irregularities. This step ensures that your font design looks professional when converted to a vector font.
Step 4: Save The Characters As Separate SVG Files
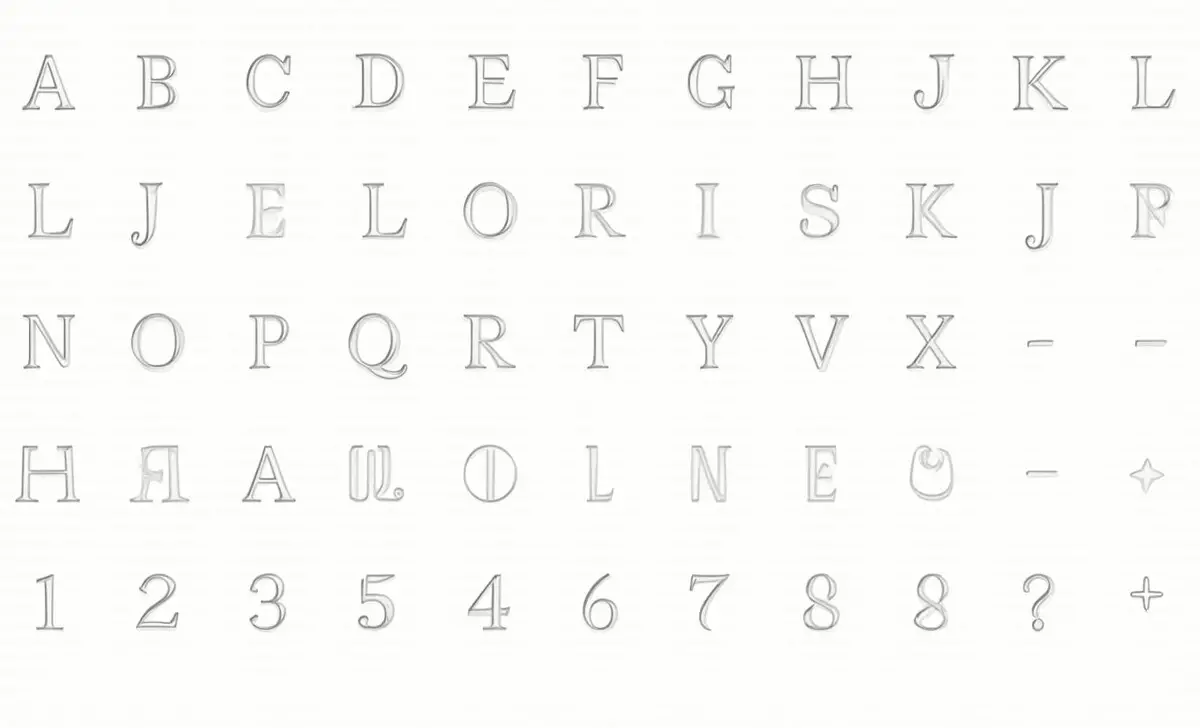
Once your design is refined, save each character (glyph) as a separate SVG file. Each lettering style, special character, and icon should be saved separately to help with the font creation process later.
Step 5: Import SVG Files Into Font Creation Software
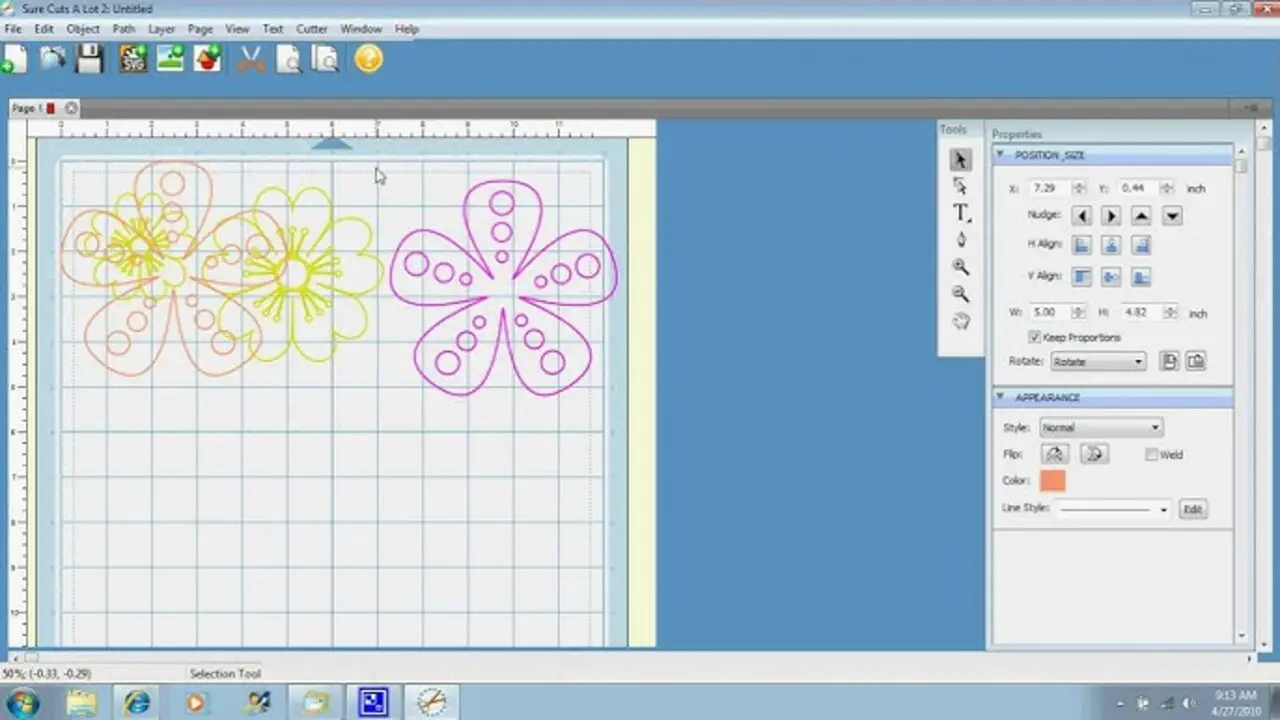
Now that you have your characters as vector graphics, you can use a font creation software like FontForge, FontLab Studio, or Glyphs to turn them into a functioning font file. Here’s how to do it:
- Open FontForge: Start by creating a new font project.
- Import Glyphs: Import each SVG file for the characters into their respective slots in the font editor grid.
- Set Font Size and Metrics: Define the font size, spacing, and kerning to ensure your custom font is well-proportioned.
- Export the Font: Once everything is aligned, export the font as a TrueType font (TTF) or OpenType font (OTF), two of the most common font formats.
Step 6: Test Your Font
Once you have exported your new font, install it on your computer and test it in different applications like Adobe Photoshop, Microsoft Word, and various design programs. This will allow you to see how the font behaves at different sizes and in various font styles.
Step 7: Use Font Identification Tools (Optional)
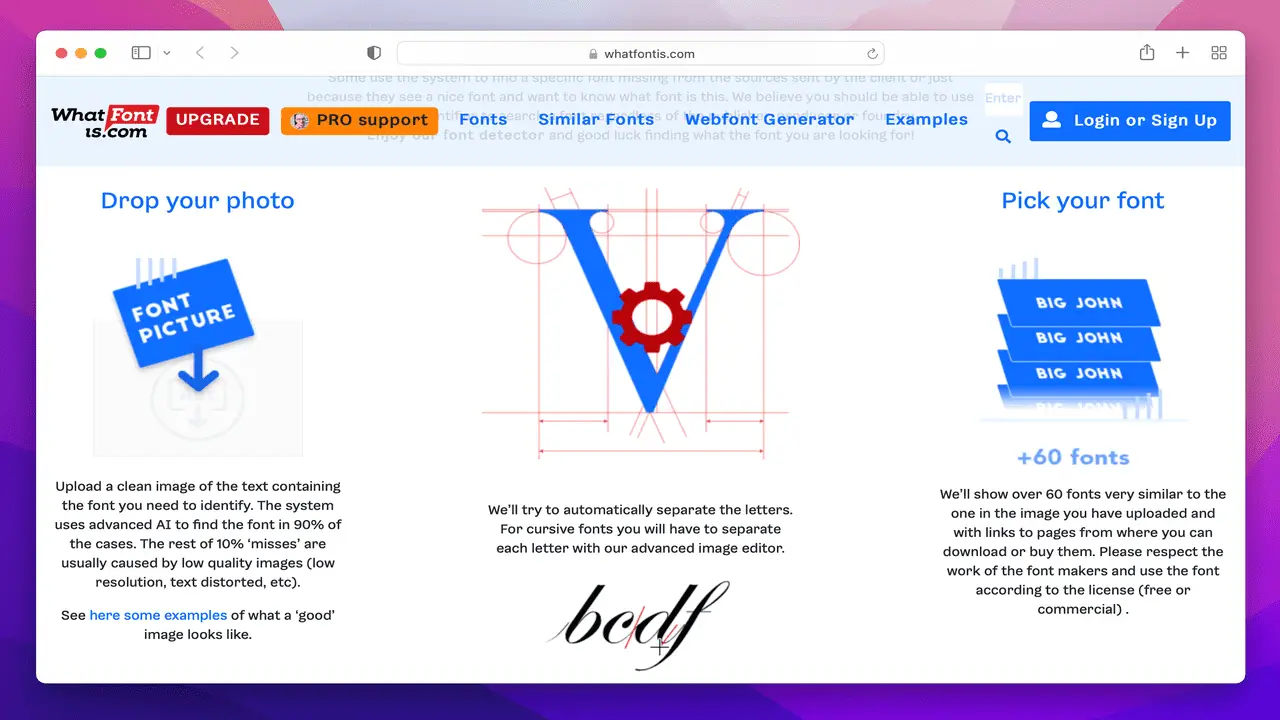
If you’re trying to match or create a similar font to an existing one, tools like Fontspring Matcherator can be useful for identifying different fonts and drawing inspiration. You can upload an image of the existing font, and it will suggest similar fonts.
Step 8: Experiment With Variable And Icon Fonts
You can also expand your font creation by experimenting with variable fonts and icon fonts. Variable fonts allow you to adjust the font weight, width, and slant dynamically, while icon fonts turn graphical icons into usable font characters, ideal for typography and web design.
Conclusion
Creating a custom font from an image offers endless opportunities for designers. Whether you need a unique handwritten font, a bitmap font, or a professional serif font, the process can be achieved with tools like Adobe Illustrator, FontForge, and FontLab Studio.
By following the steps outlined in this guide, you can generate your own original font to use for personal or commercial projects. With the right tools and creativity, the possibilities are limitless.
FAQs
1.Can I Use Photoshop To Create A Font From An Image?
While Adobe Photoshop is great for image editing, it’s not ideal for creating fonts. Instead, use Adobe Illustrator for converting images into vector format, which is essential for creating scalable fonts.
2.What Is The Best Software For Creating Fonts From Images?
The best tools for font creation from images include FontForge, FontLab Studio, and Glyphs. For tracing and vectorizing the image, Adobe Illustrator is the top choice.
3.How Do I Ensure My Font Is Scalable?
Ensure that your font is created in vector format using a tool like Illustrator. This way, it can be scaled to any size without losing quality, as opposed to using a bitmap font.
4.Can I Create A Font From Handwritten Text?
Yes, you can scan your handwriting, vectorize it using Illustrator’s Image Trace feature, and convert it into a handwritten font using FontForge or similar font software.
5.What Is The Difference Between TTF And OTF Fonts?
TrueType Font (TTF) and OpenType Font (OTF) are two common font formats. TTF is widely supported and simpler, while OTF offers additional features like variable fonts and special characters.
